Home » Offers Module
Home » Offers Module
Offers Module
- Access the Offers Module
- Add new offers
- Images Section
- Mail Functionality
- Send Emails and Edit Offers
- Change the Status of an Offer
- Customers Offers Module
- Track Offer Status
Access the “Offers” module:
Login:
Start by logging into your account on the Büro 365.
Navigate to Offers:
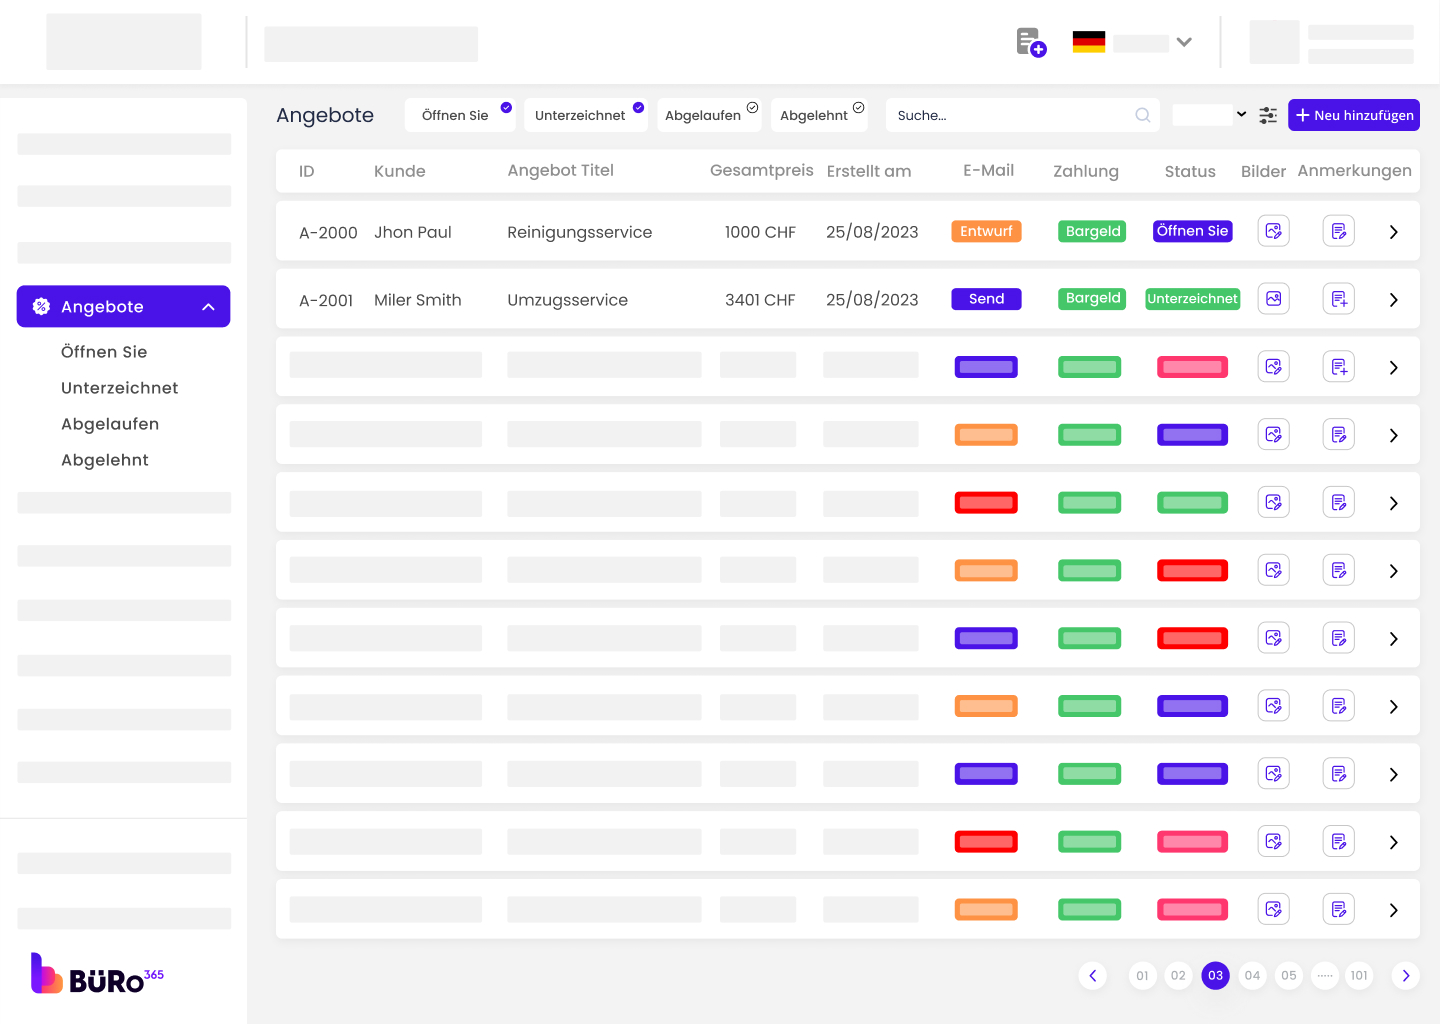
Click on the ‘Offers’ tab in the left-hand side menu to view all the offers. You will see a list of offers with details such as ID, Customer Name, Offer Title, Total Price, Created On, Status, and more.
Offer Status Categories
Offers are categorized by their status.
Open: Offers currently active and awaiting a response.
Accepted: Offers that have been agreed upon by both parties.
Expired: Offers that have passed their validity date without acceptance.
Rejected: Offers that have been declined.
Searching for Offers:
Search Functionality:
Use the search bar to find offers by typing in the ID, customer name, or email address.

Sorting Offers:
Sort by Function:
Click on the ‘Sort By’ drop-down menu to organize your view.

Date: Arrange offers by the date they were created. You can choose ‘Latest’ for the most recent or ‘Oldest’ for the earliest.
A-Z: Sort offers alphabetically by customer name.
Using Filters:
Date Filter:
From/To: Specify a date range to view offers created within a certain period.
Lead Source Filter:
Selection: Choose a lead source to view offers generated from specific marketing efforts or channels such as ‘Umzugsfuchs’, ‘Webvermarktung’, etc.
Apply Filter: After making your selections, click ‘Save’ to apply the filters.

To create offers in the offer module of the Büro 365, follow these step-by-step instructions which your customers can use to understand how it works.
- Starting the Process:
- Navigate to the ‘Offers’ section in the main menu.
- Click on the ‘+ Add New’ button to start creating a new offer.

- Offer Details:
- Choose the customer type, select ‘New Customer’ if the customer is not already in the system, or ‘Existing Customer’ if they are.
- Fill in the necessary details such as the customer’s name, email, phone number, and address.
- Select or enter the offer title and content, which might include the details or description of the offer.
- Specify the dates (start and end) and the time if it’s relevant to the offer.

- Address Details:
- Enter the detailed address information where the service will be provided, including street name and number, postal code, city, and country.
- You can add multiple addresses if the offer covers different locations by clicking ‘Add New Address’.

- Service Details:
- Indicate whether it’s a ‘New Service’ or ‘Existing Service’.
- Provide a detailed description of the service or product.
- Set the price and, if applicable, a discount. You can also define the unit count.
- Include any additional information that describes what the offer includes.

- Additional Details:
- Add any extra information that is relevant to the offer but hasn’t been covered in the previous steps.
- Use the text editor for formatting and clarity.

The ‘Images’ section in the Offers Module is designed to allow users to upload visual supporting documents to their offers. This functionality is important for providing visual proof or additional details that can enhance the offer’s appeal or clarity.

Step 1: Accessing the Images Section
- Navigate to the Offers Module in your dashboard.
- Click on the offer to which you want to add images and then click on the ‘Open’ button in the ‘Status’ column.
Step 2: Uploading Images
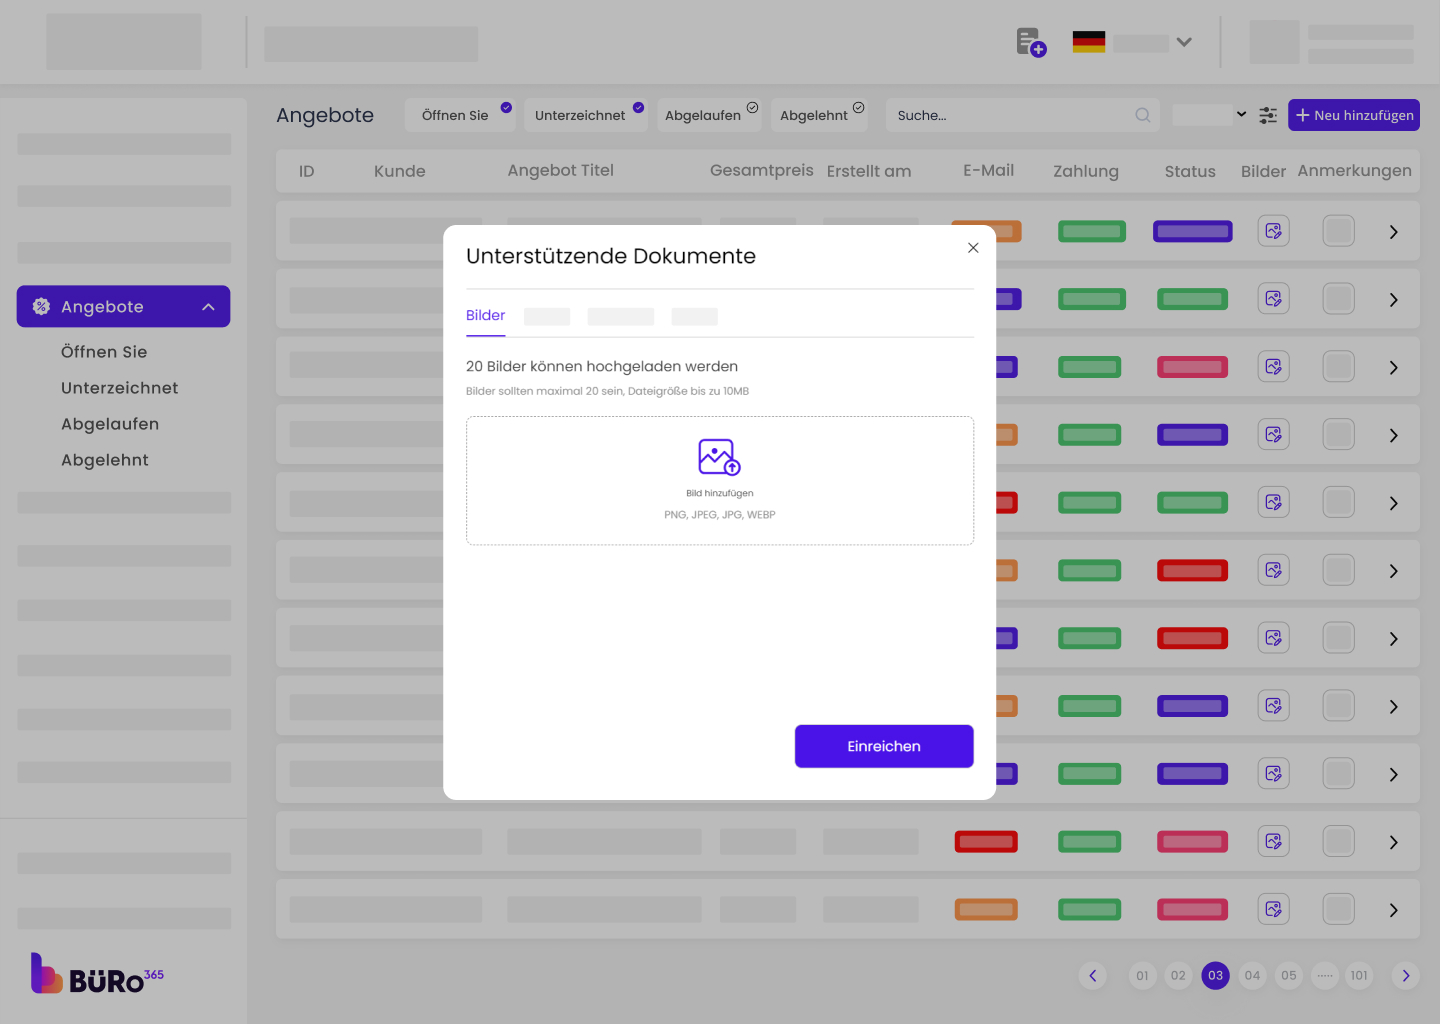
- On the offer’s details page, locate the ‘Supporting Documents’.
- Click on the ‘Images’ tab to open the image upload interface.
Step 3: Adding Images
- You can add images by clicking on the ‘Add Image’ area, which may show an icon or text indicating that you should upload files here.
- Select the image files from your computer and keep them in mind.
- You can select multiple files if needed.
- Ensure the images are in the accepted formats (PNG, JPEG, JPG, WEBP).
- There may be a limit to the number of images you can upload (e.g., 20 images).
- There may also be a file size limit (e.g., up to 10MB per image).
Step 4: Adding Video
You can add a video by clicking on the ‘Add video’ area, which may show an icon or text indicating that you should upload files here.
Select the video files from your computer.
- You can select multiple files if needed.
- Ensure the videos are in the accepted formats (MP4, MOV, AVI, WEBM).
- There may be a limit to the number of videos you can upload (e.g., 20 videos).
- There may also be a file size limit (e.g., up to 10MB per video).

Step 5: Adding Supporting Attachments
You can add an attachment by clicking on the ‘Add attachment ‘ area, which may show an icon or text indicating that you should upload files here.
Select the attached files from your computer.
- You can select multiple files if needed.
- Ensure the attachments are in the accepted formats (PDF, ODT, DOC, XLXS).
- There may be a limit to the number of attachments you can upload (e.g., 20 attachments).
- There may also be a file size limit (e.g., up to 10MB per video).

Step 6:
You can add a link by clicking on the ‘Add link ‘ area, and then you can add a link by clicking on the ‘Submit’ button.
Adding Supporting Link:

Step 7: Edit
- Once the images and files are selected, you can usually review them before submitting them.
- If you’ve uploaded the wrong image and files by accident, there should be an option to remove or replace them.
Tips:
Uploading clear and relevant images can help with the assessment and processing of the offers.
Remember to respect privacy and confidentiality when uploading images that may contain sensitive information.
Troubleshooting:
If you encounter any issues while uploading images, such as errors or failed uploads, please contact support for assistance.
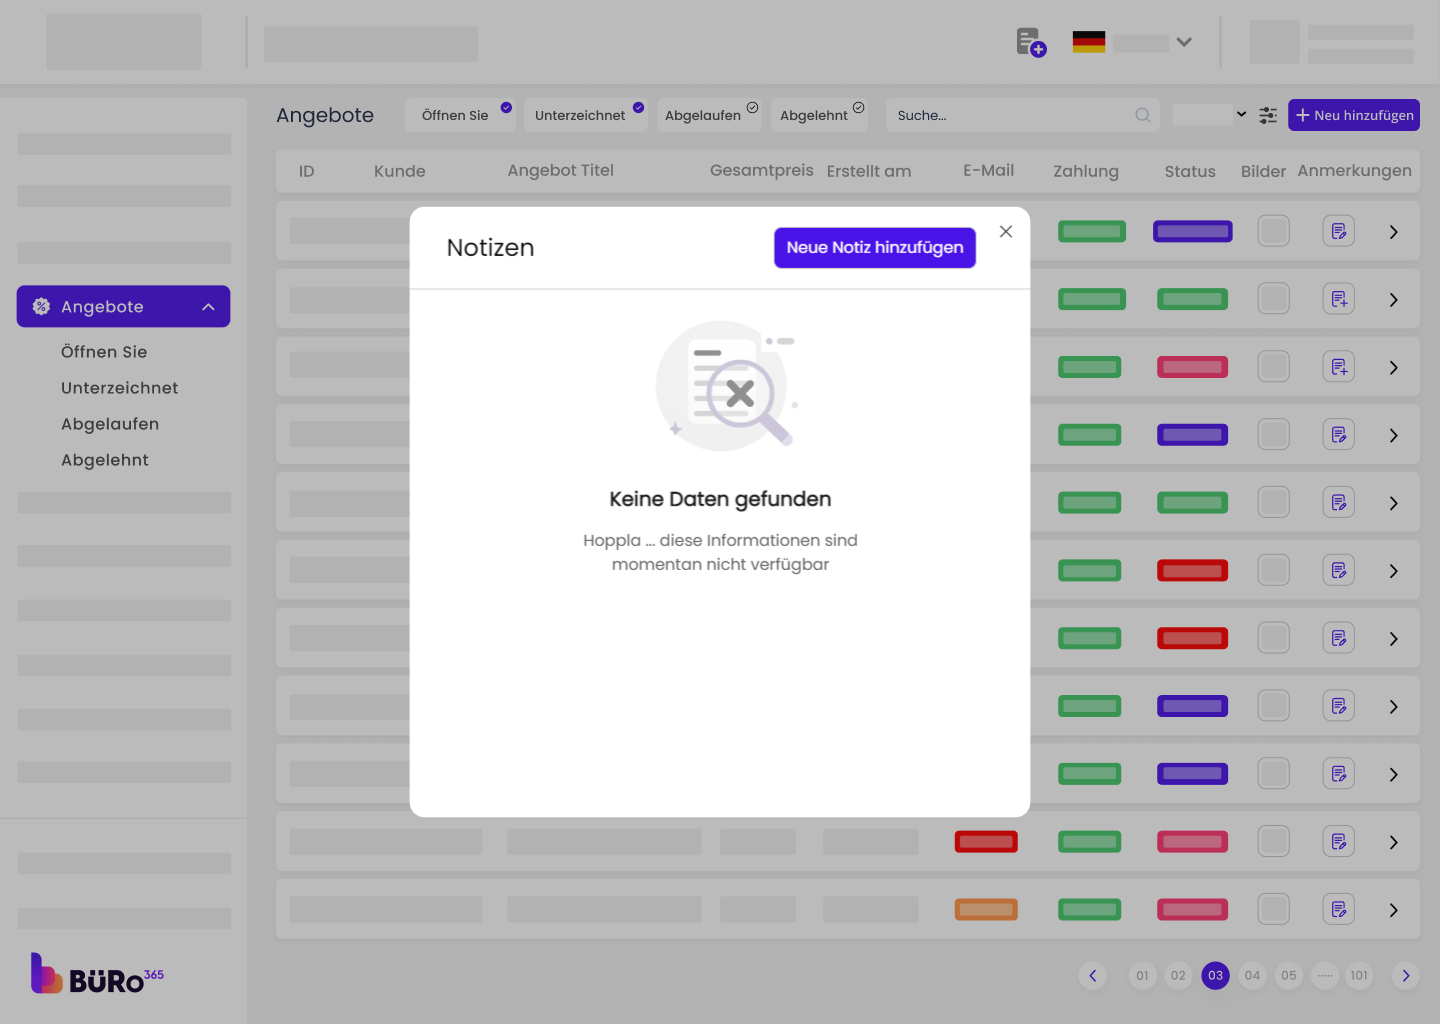
Accessing Notes:
- The purpose of the Notes feature, which allow users to keep track of important information related to the offers they are interested in or have received.
- Detail how customers can access the Notes section within the Offers module, usually by clicking on the “Notes” icon or link.
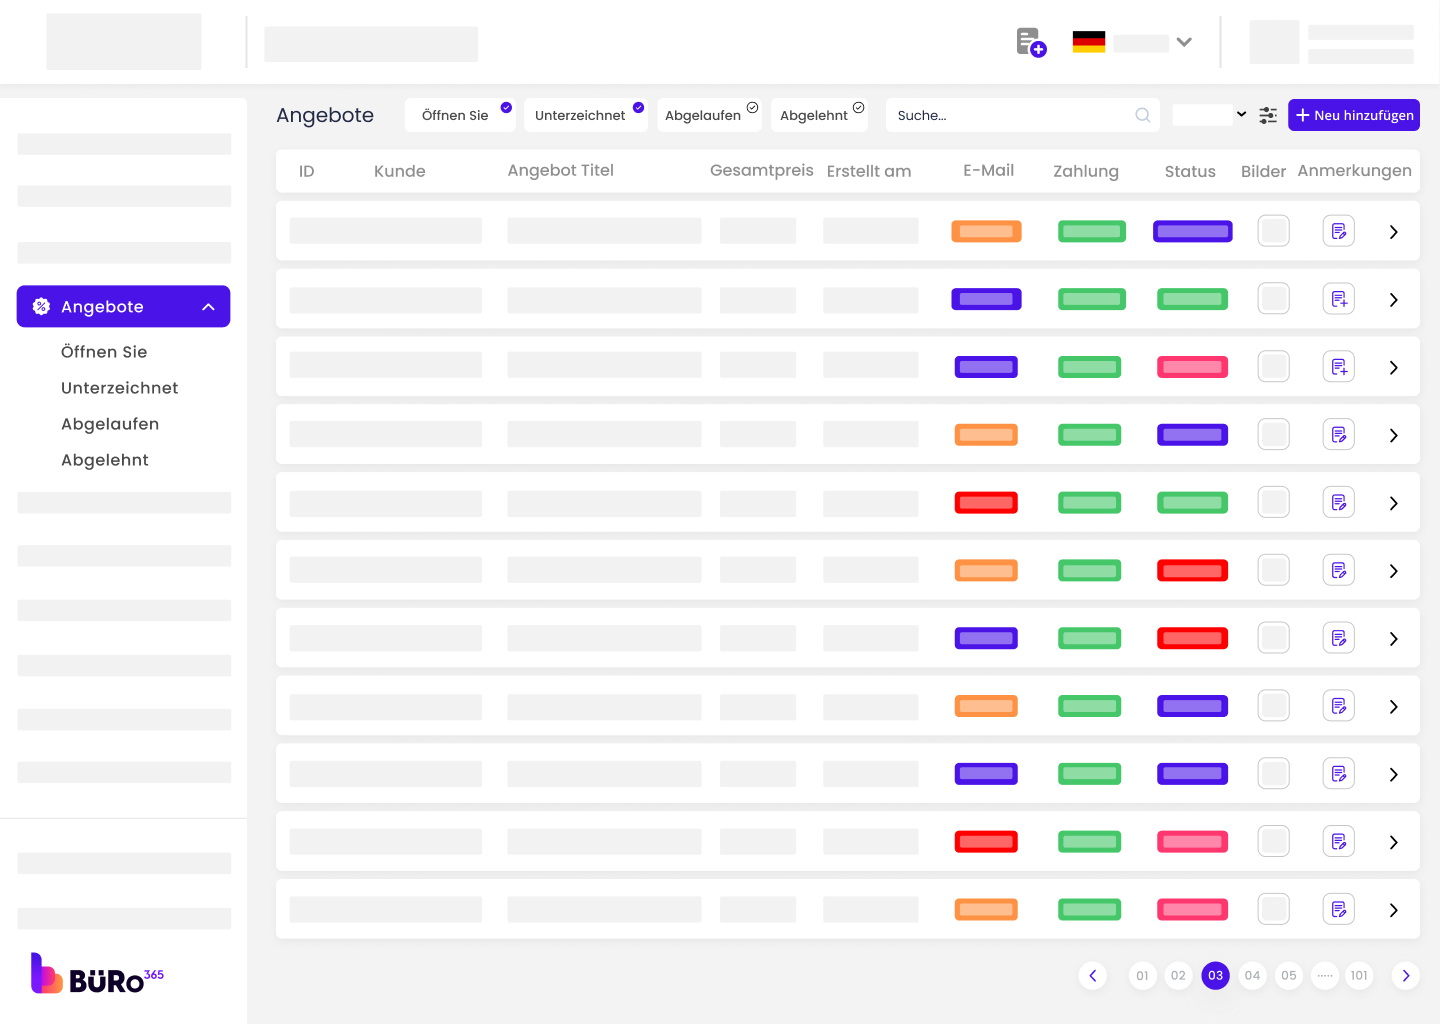
Adding a New Note:
How to add a new note by clicking the “Add New Note” button.
Mention any details that can or should be included in the note, such as text, images, or links related to an offer.
Tips:
- Offer tips for effective note-taking, such as using clear headings, bullet points, and concise language.
- Suggest categorizing notes by offer type or date for easy retrieval.
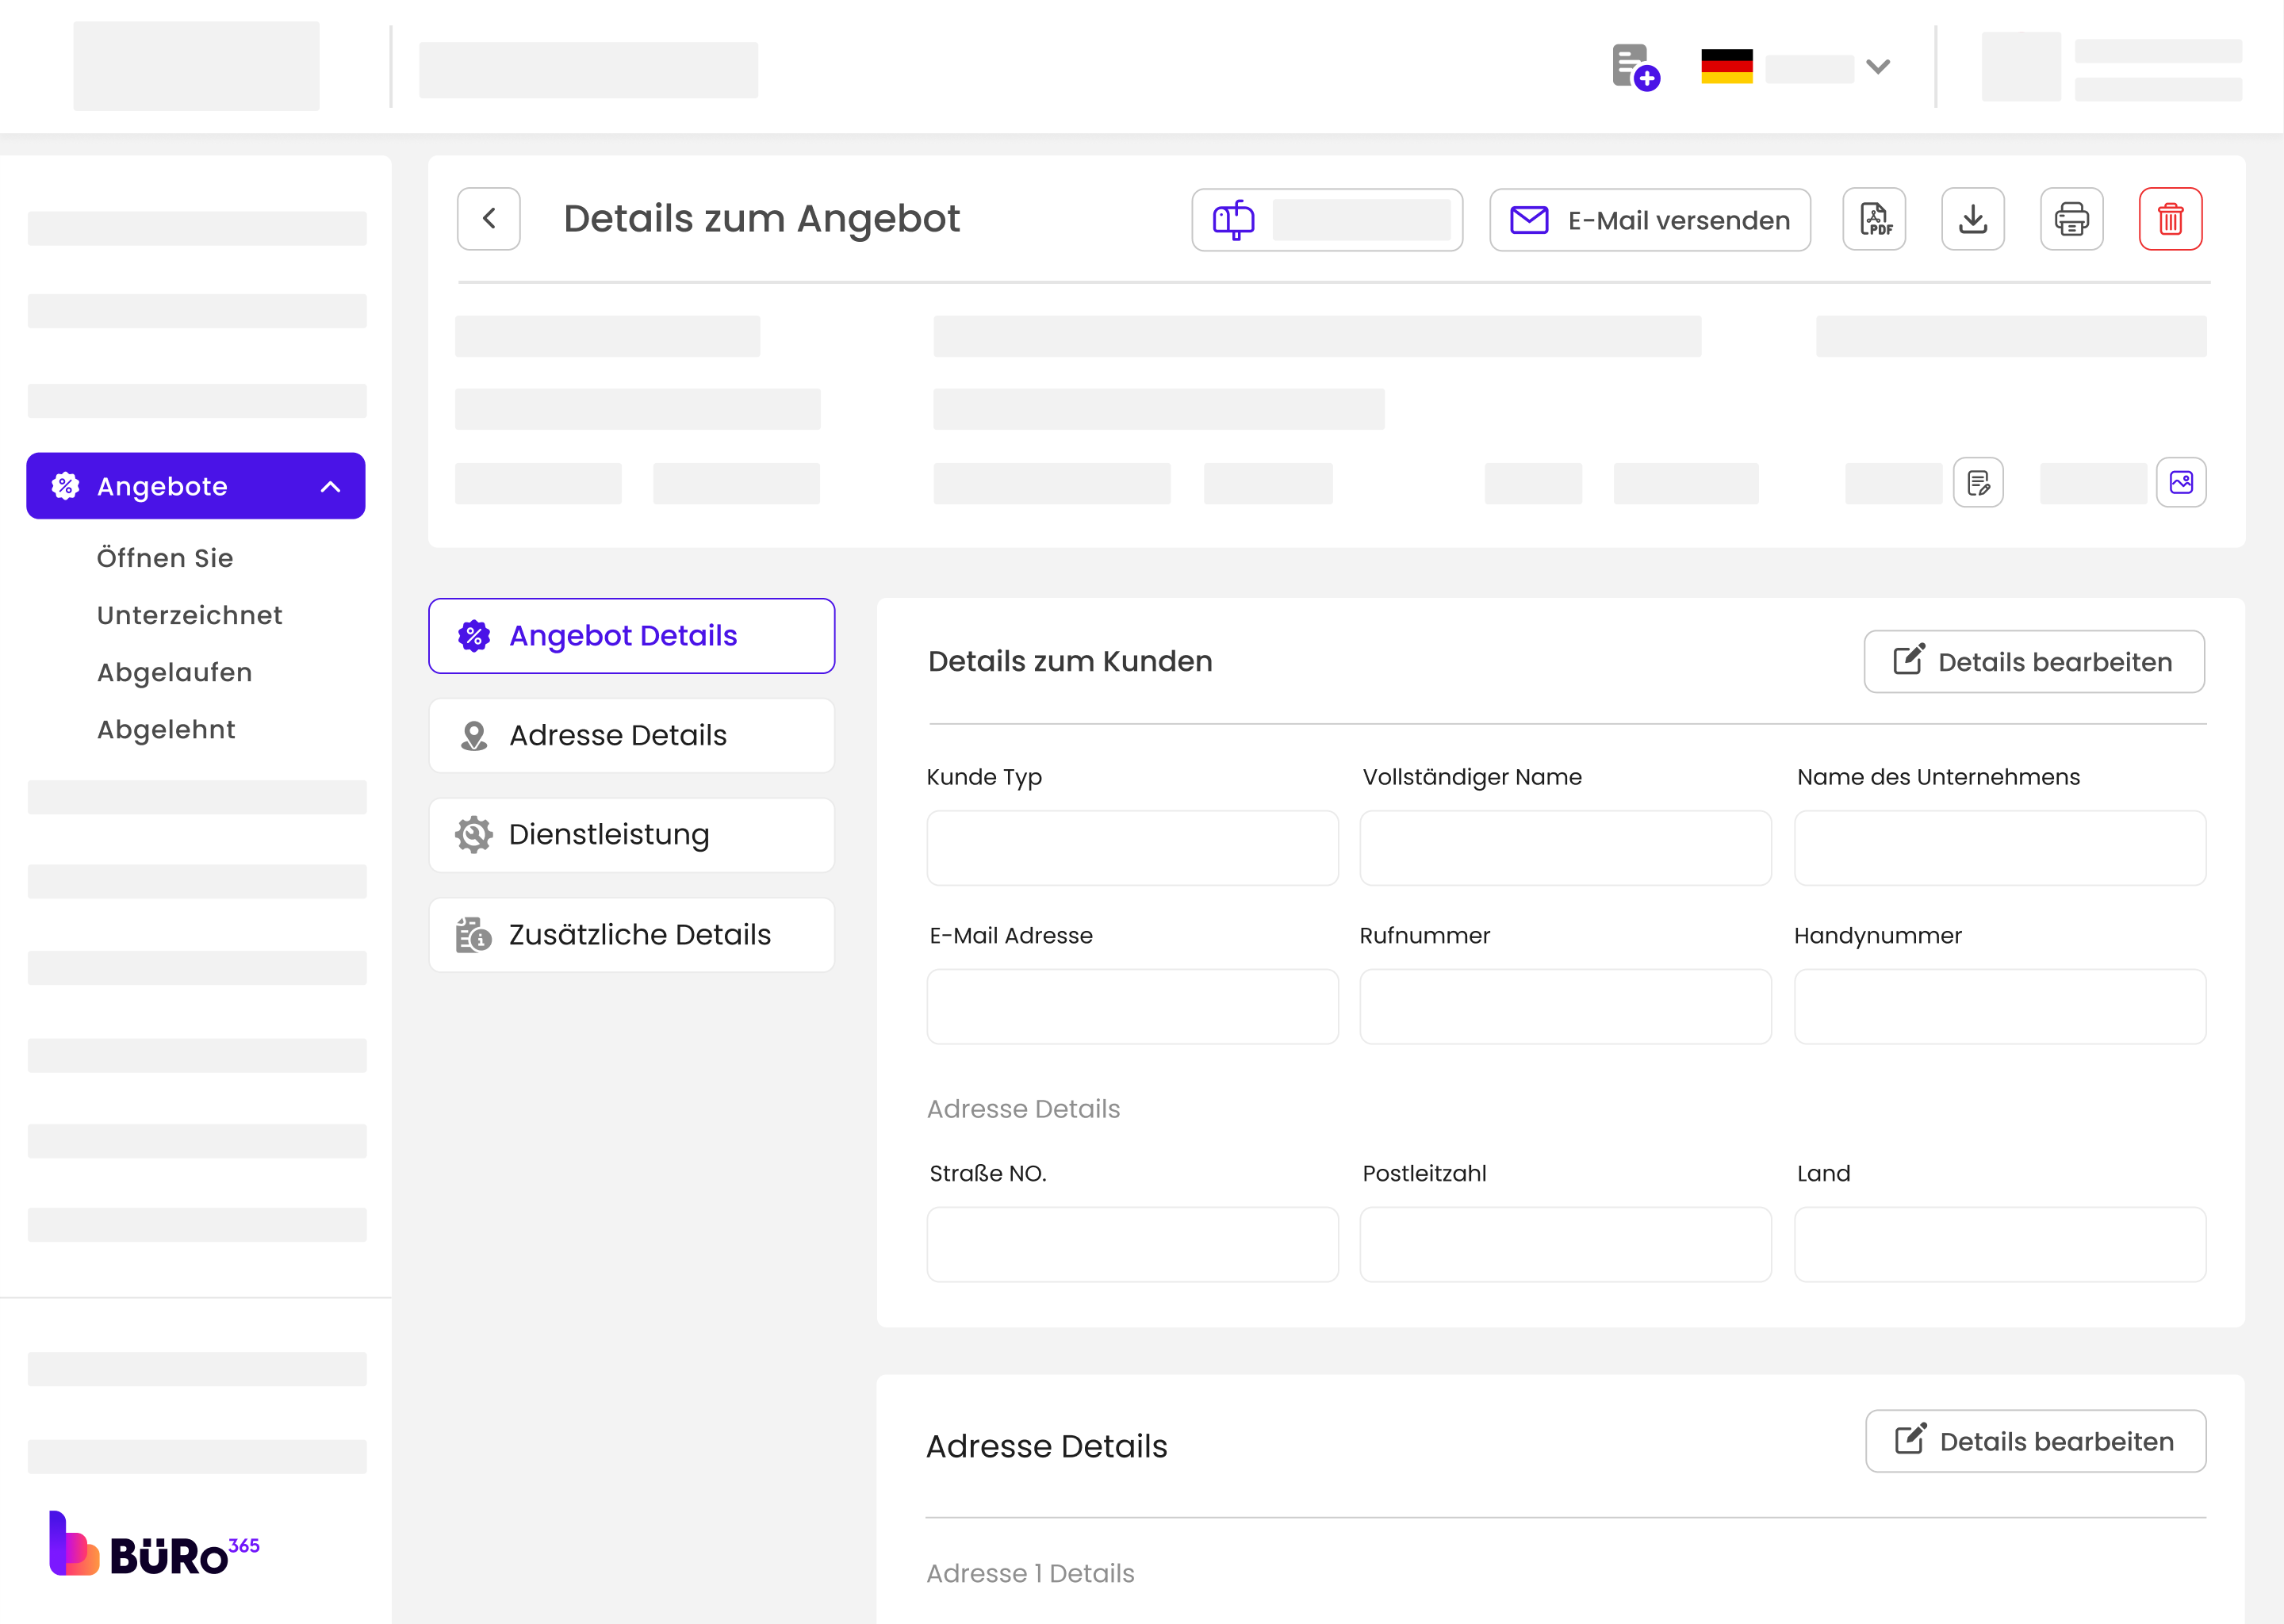
From the main dashboard in offers, locate and click on the “Mail Tracker” icon, which is represented by an envelope with an eye, to access the mail tracking feature.
1. Understanding the Offer Details Interface:
Once you’re on the “Offers” page, you can view the details of specific offers sent to customers. To read the details of a particular offer, select it from the list provided on the page.
2. Viewing an Offer:
- The “Offer Details” page shows comprehensive information about the offer. You will see an “Offer ID” at the top, which uniquely identifies each offer.
- Below the ID, the “Email Status” indicates whether the offer has been sent via email, and the status is marked as “Pending” if it hasn’t been sent yet.
3. Offer Content Section:
- The offer content section outlines the services provided. For example, it lists a cleaning service with a description, the number of units, the unit price, and the total cost.
- At the bottom of the offer, the “General Terms and Conditions” section contains additional details that govern the offer.
4. Sending the Offer via Email:
To send the offer to a customer, use the “Send Email” button located at the top right corner of the page. This function sends the details of the offer to the customer’s email address.
5. Edit Function:
If any details within the offer need to be changed before sending, you can click on the “Edit” button, which is located near the top of the “Offer Details” page, to modify the offer content.
6. Offer Editing:
If any details within the offer need to be changed after sending, you can resend the offer after editing. The customer can then either accept or reject it, and the status of the offer will be changed to open.
7. Additional Options:
The interface includes options to print the offer, download it, or send it by post, which are represented by the respective icons at the top of the page.
1. Navigate to the Offers Module:
- Login to your Büro 365 portal.
- On the left sidebar, click on “Offers” to see a list of all the offers.
2. Selecting an Offer:
- Find the offer you want to work with. You can use the search function or sort the list if necessary.
- Click on the offer to open the detailed view.

3. Sending or Resending an Email:
- To send an email to the customer, check the “Email Status” on the “Offer Details” page to see if it’s been sent already.
- If not, you can create your email using the “Offer Email Preview” section.
- Fill in the subject and the description as necessary. Attach any required documents.
- You can send multiple emails to different email addresses of that customer by editing the document in the email section.
- Click on “Send via Email” to dispatch the email to the customer’s address.

1. Accessing the Offer Status:
In the “Offer Details” page, locate the “Status” dropdown menu. This shows the current status of the offer (e.g., Open, Accepted, Expired, Rejected).

2. Changing the Status:
- To change the status, click on the dropdown menu and select the new status.
- If a customer has manually communicated acceptance (e.g., through an email), select “Accepted” to reflect this in the system.
- Confirm the change. There might be a prompt to save or a direct change.

3. Finalizing the Status Change:
- After changing the status, you may need to perform additional actions, like inform the customer of the status update, especially if the system doesn’t do it automatically.
- If needed, send a follow-up email to the customer to confirm the change in status.
Receiving an Offer:
1. Offer Email:
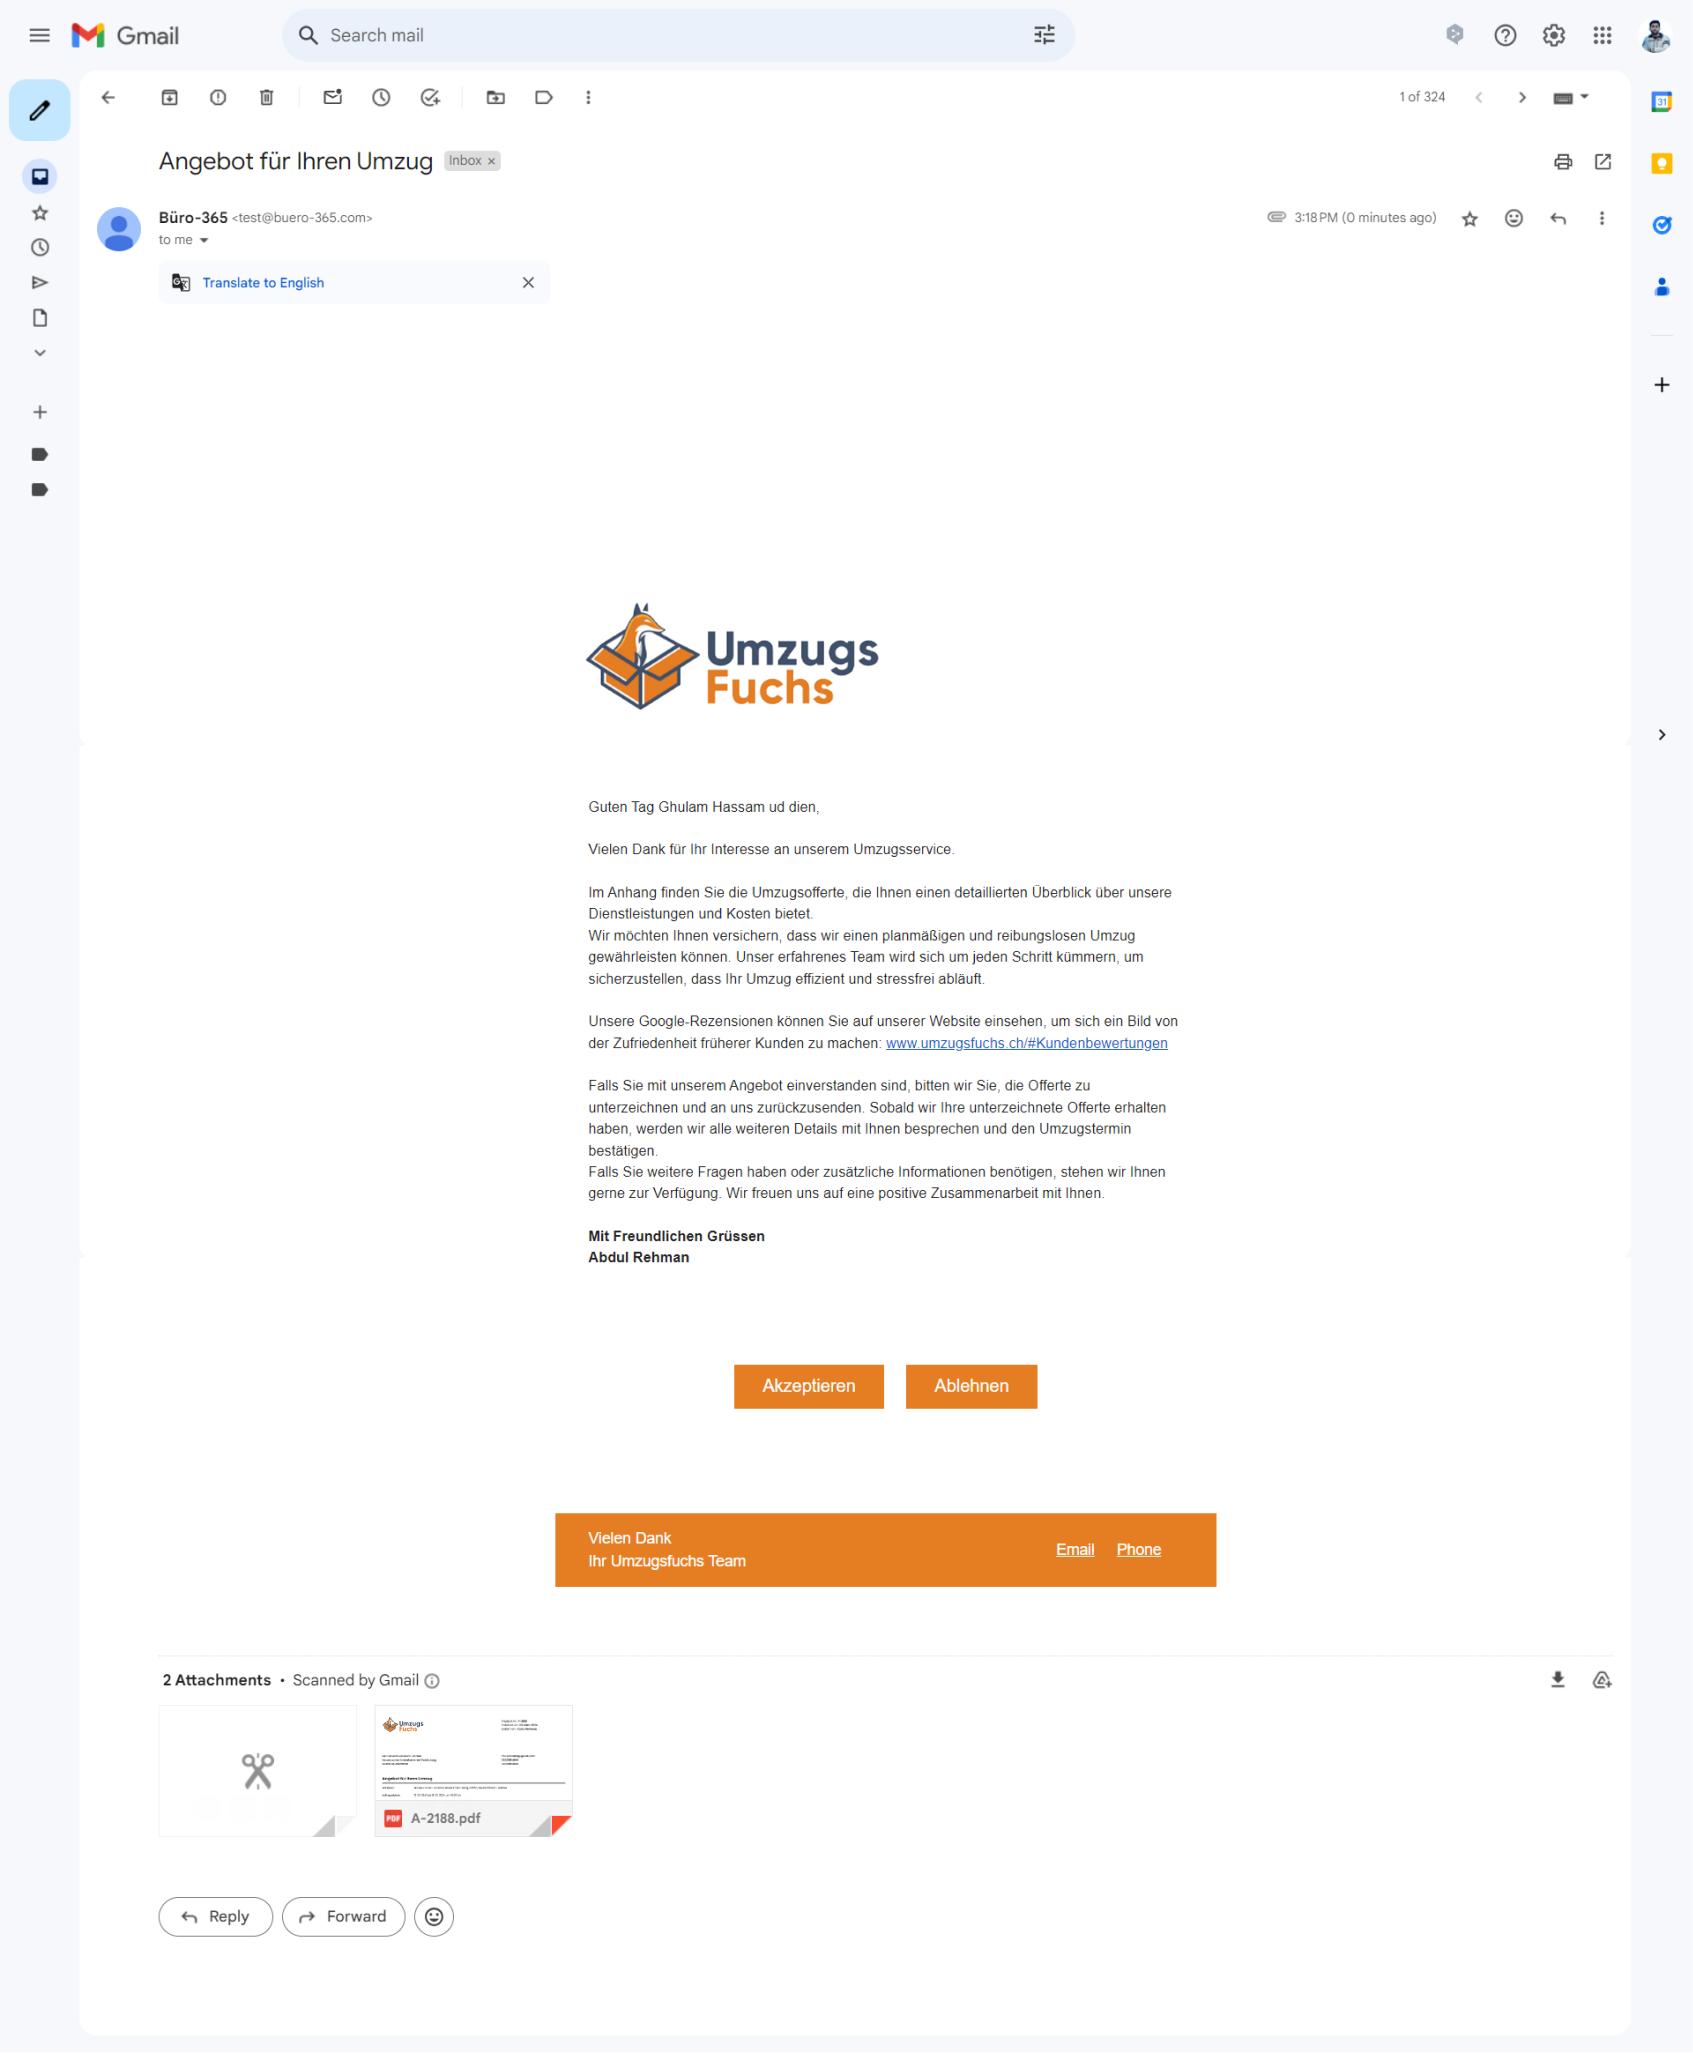
When a new offer is sent to you, it will arrive in your email inbox or spam.
2. Offer Details:
Open the email to view the offer’s details, including service terms, pricing, and duration.
Accepting an Offer:
1. Accepting via Email:
To accept the offer, simply click on the “Accept” button in the email.

2. Signing:
After acceptance, you’ll be prompted to sign on the designated label to formalize your acceptance.
3. Status Update:
Once you’ve signed, the status of the offer will be updated on the portal to “Accepted”.
4. Customer Option to Modify Time:
When the offer has been sent to the customer, the customers have the option to change the time by clicking on the edit button.

Rejecting an Offer:
1. Rejecting via Email:
If the offer does not meet your expectations, you can reject it by clicking on the “Reject” button in the email.

2. Reason Reject Offer Form:
Upon rejection, a feedback interface will appear, asking you to provide a reason for the rejection.

3. Submit Feedback:
Fill out the feedback form with the appropriate reason be it hidden fees, service mismatch, or others and submit it.
4. Status and Feedback:
The status on the portal will be updated to “Rejected”, and your feedback will be recorded for the service provider to review.
1. Portal Dashboard:
Login to your account on the service provider’s portal.
2. Offers Section:
Navigate to the “Offers” section to view all your offers.
3. Status Overview:
Here, you can track the status of each offer whether it’s open, accepted, or rejected.
