Home » Content Module
Content Module
Access Content Module
- Log in to your Büro 365 account.
- On the left-hand side, click on the ‘Content’ tab in the navigation menu to open the Content module.
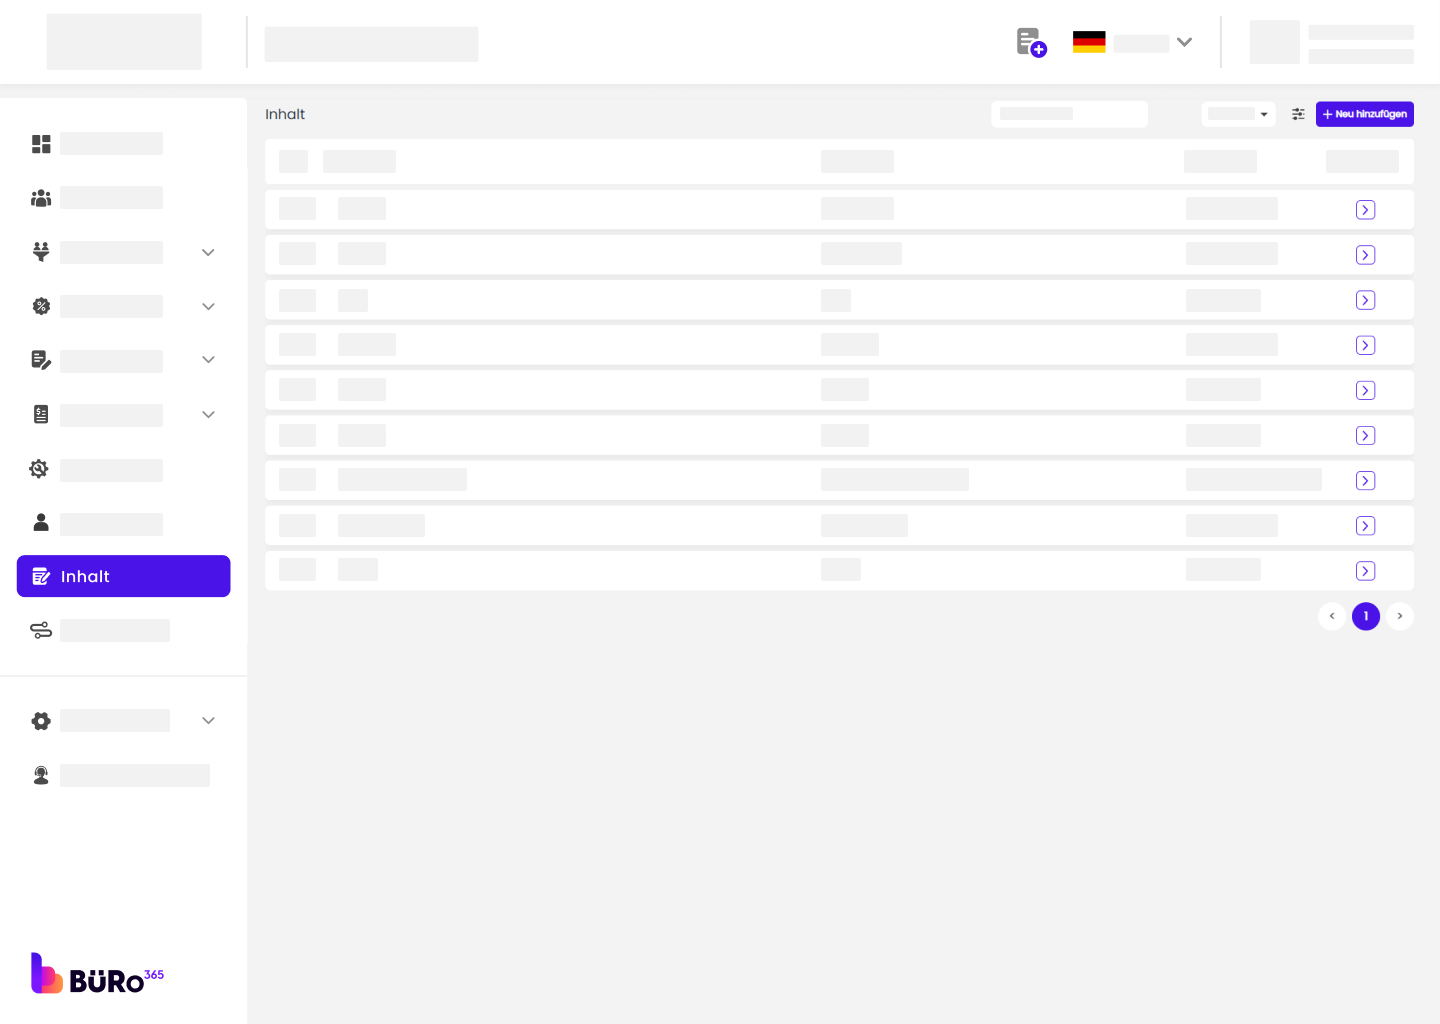
Viewing Content List:
⦁ The main panel displays a list of content with columns for ID, Name, Content Title, Created On, and Edit.
⦁ You can view the details of any content by clicking the arrow icon in the Edit column.

Edit Existing Content

- To edit an entry, click the arrow icon in the Edit column next to the relevant content.
- Update the information in the fields provided.
- Click ‘Save’ to finalize the changes.

Searching for Content:
- To search for a specific entry, use the search bar at the top.
- Type in a keyword or ID and press Enter.
Sorting Content:
- To sort the content list, use the ‘Sort By’ dropdown menu.
- Choose the criterion you want to sort by, such as Created on or Name.
Add New Content
- To add new content, click the ‘+ Add New’ button located at the top right corner.
- Enter the required details such as Name and Content Title in the relevant fields.
- Click ‘Save’ to create the new content entry.

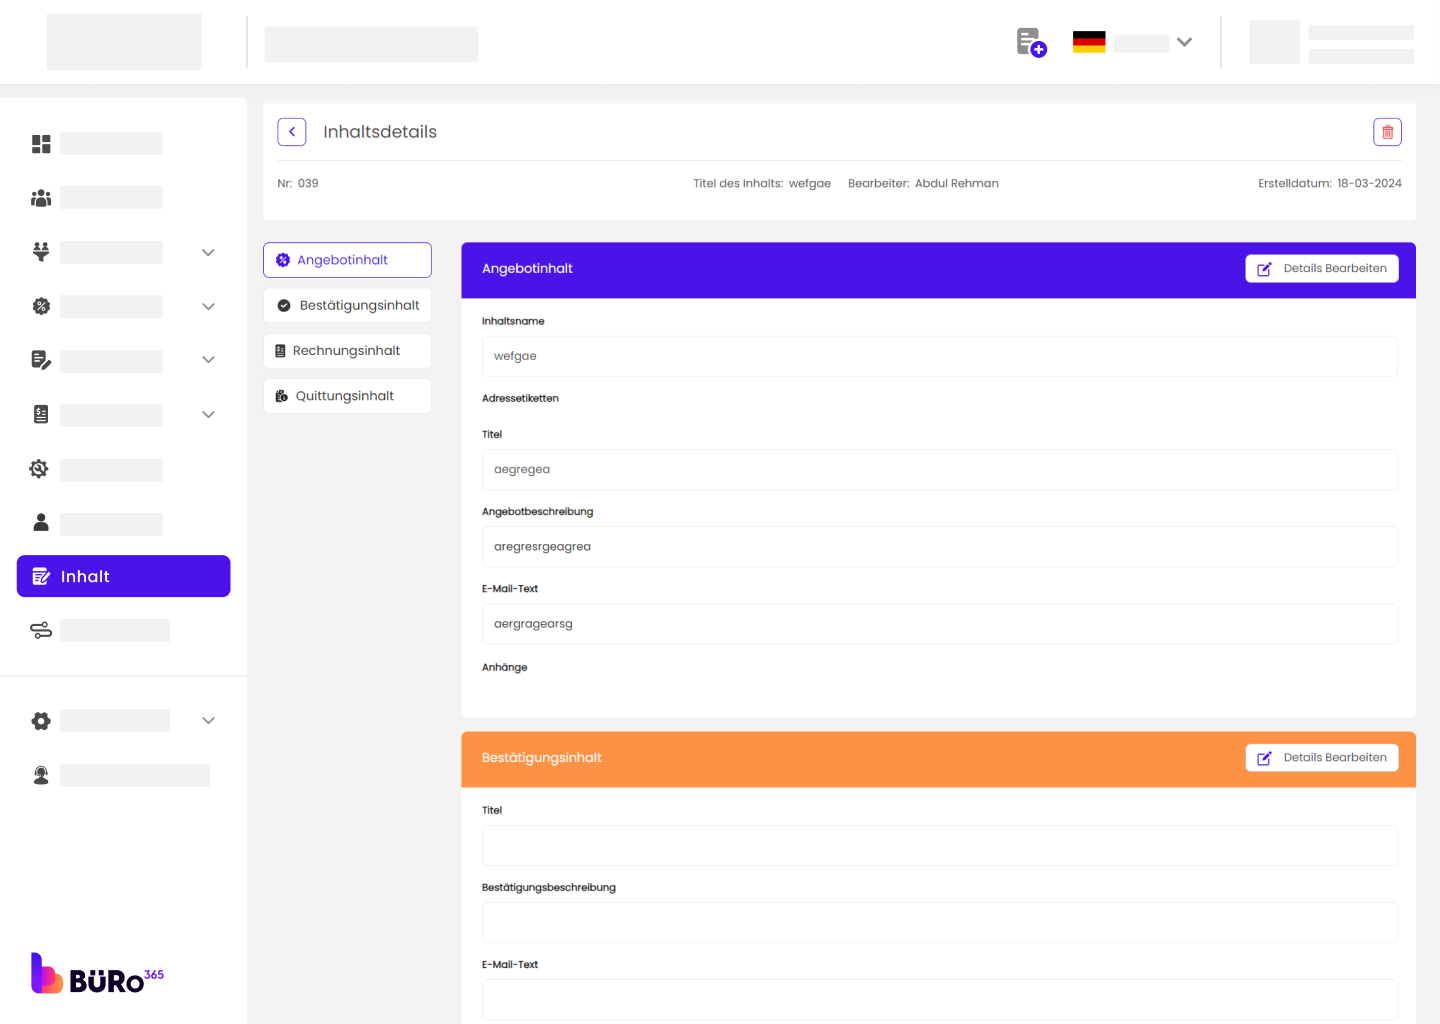
1. Offer Content
- You will see fields for “Content Name”, “Title for the offer”, “Offer Title”, “Text for the offer”, “Offer Description”, and “Email Body”.
- Fill in each field with the relevant information for your offer.
- You can format the text in the “Offer Description” and “Email Body” using the text editor toolbar.
- To attach files, use the “Attachments” section at the bottom. Supported file types are JPG, PNG, and GIF.
- Once you have entered all the information, click “Next”.

2. Confirmation Content
- This section includes fields for “Confirmation Title”, “Confirmation Description” and “Email Body”.
- Enter the necessary details for the confirmation message you want to send.
- Use the text editor tools to format your content as needed.
- Attach any relevant files in the “Attachments” area.
- After filling out the details, click “Next”.
3. Invoice Content
- Choose “Invoice Content” within the “Content” module.
- Here, you will find fields to input the “Invoice Title”, “Invoice Description”, and the content for the “Email Body”.
- Fill in the information that will be included in the invoice you are creating.
- You can format the text and attach files like the previous steps.
- When you’re done, click “Next”.

4. Receipt Content
- Similar to the other sections, you’ll see fields for “Receipt Title”, “Receipt Description”, and “Email Body”.
- Input the relevant receipt details and format the text as desired.
- Attach any necessary files.
- To save the content, click “Save”.

