Home » Contract Module
Access Contracts Module
- Access Contracts Module
- Filters
- Offer Edit Tracking
- Customer Accepts an Offer
- Send Confirmation Email
Access Contracts module:
- Navigate to the main dashboard of your system.
- On the sidebar menu, click “Contracts” to access the contract management section.

Viewing Contracts:
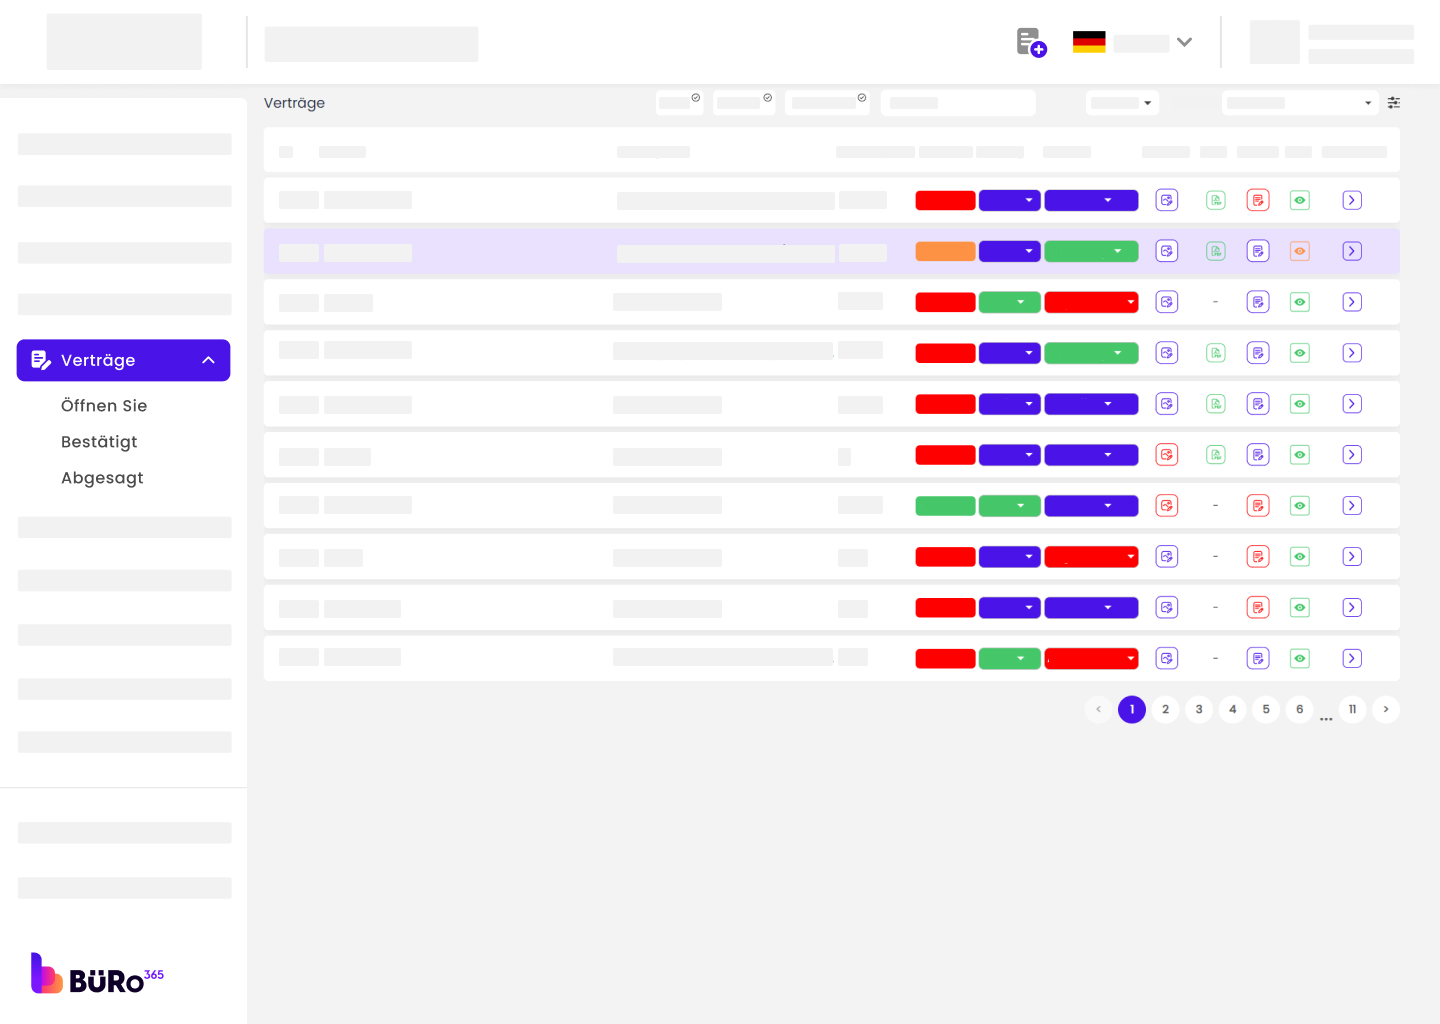
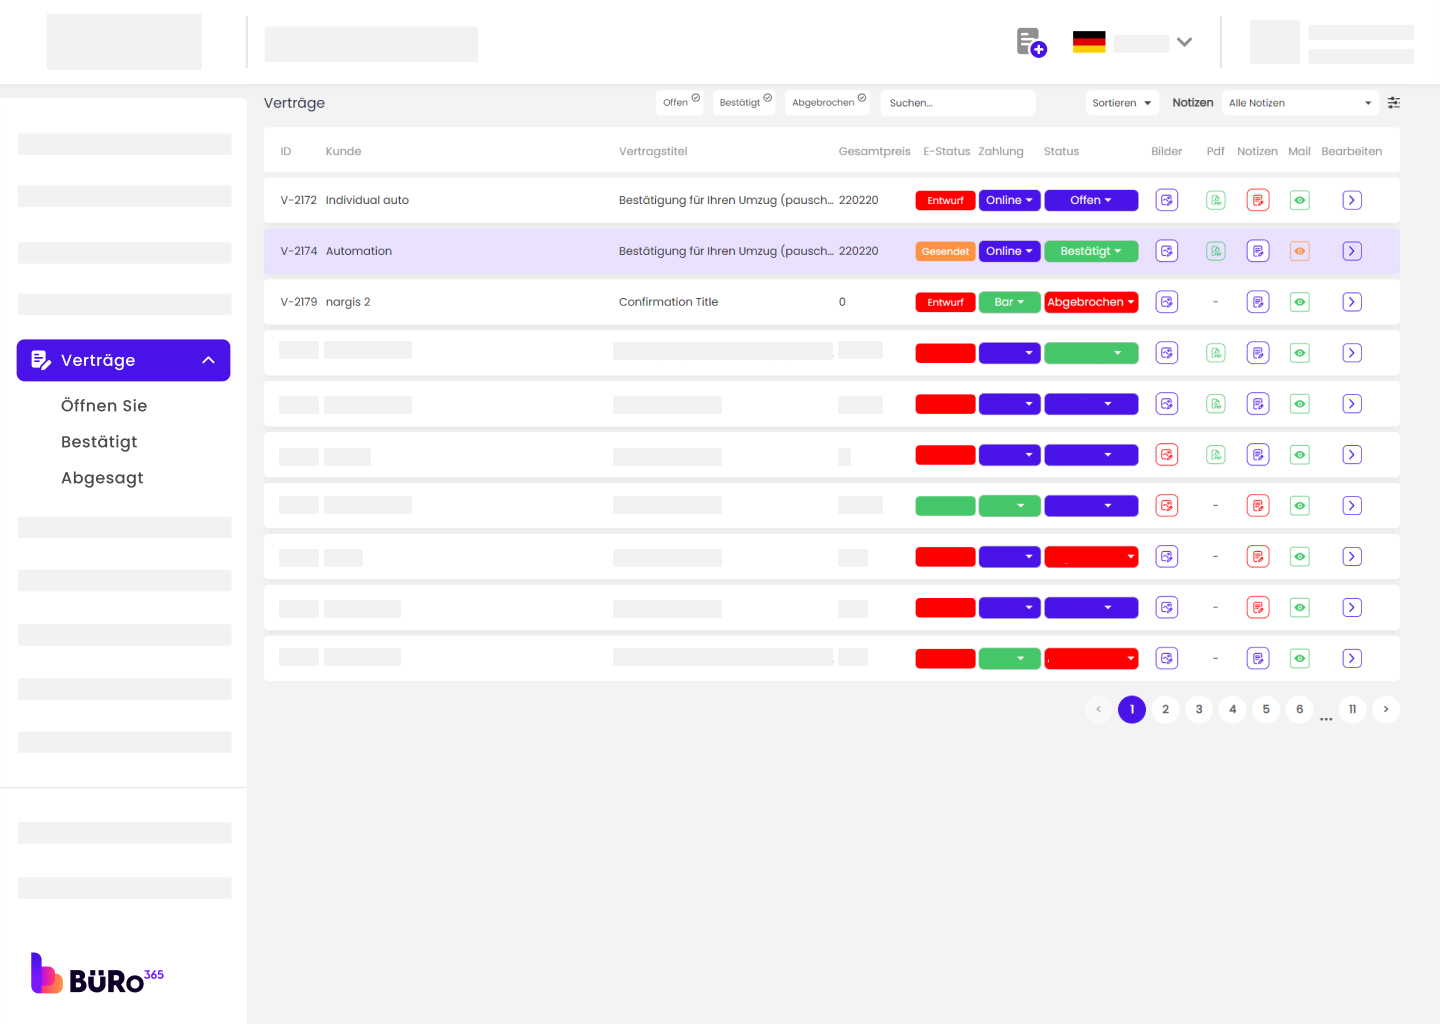
- The central area of the Contracts module displays a list of contracts with details such as the ID, customer name, contract title, total price, e-status, payment method, and current status.
- The ‘E-Status’ column shows whether the electronic status of the contract is ‘Sent’, ‘Pending’, or has a different status indicated by the color-coded tags.
- The ‘Payment’ column indicates how the customer has chosen to pay, either ‘Cash’ or ‘Online’.
- The ‘Status’ column shows the current state of the contract: ‘Confirmed’, ‘Open’, or ‘Cancelled’, again indicated by color-coded tags.

Contract Actions:
Each contract has a set of icons at the end of its row, allowing users to view images, download PDFs, add notes, send mail, and edit the contract details.

Using Filters:
- On the top right of the Contracts module, users can refine the list of contracts shown by using filters.
- By clicking the ‘Filter’ button, users can specify a date range, select from different lead sources like ‘Umzugsfuchs’, ‘Webvermarktung’, ‘Offerten-365’, ‘Umzugshero’, ‘Via Call’, or reset the filters.

Sort By and Search
Sorting Contracts:
Users can sort contracts by clicking on the ‘Sort By’ dropdown menu, which allows sorting by ‘Date’, ‘Latest’, ‘Oldest’, or ‘A – Z’.

Searching for Contracts:
The search bar in the upper right corner of the Contracts module allows users to quickly find specific contracts by typing in relevant search terms.

Offer Edit Tracking
When the user edits the offer, every modification made to the offer will be recorded and displayed. This comprehensive tracking ensures transparency and accountability throughout the editing process. Users can easily review all changes made to the offer, promoting clear communication and confidence in the final version.
Customer Accepts an Offer
Once a customer accepts an offer, a contract is automatically generated in the system. You will find this new contract listed under the “Open” contracts if it has not been sent or confirmed yet.

Sending the Contract to the Customer:
Locate the generated contract for the customer in the “Open” contracts list.
Contract Details Review Guide:
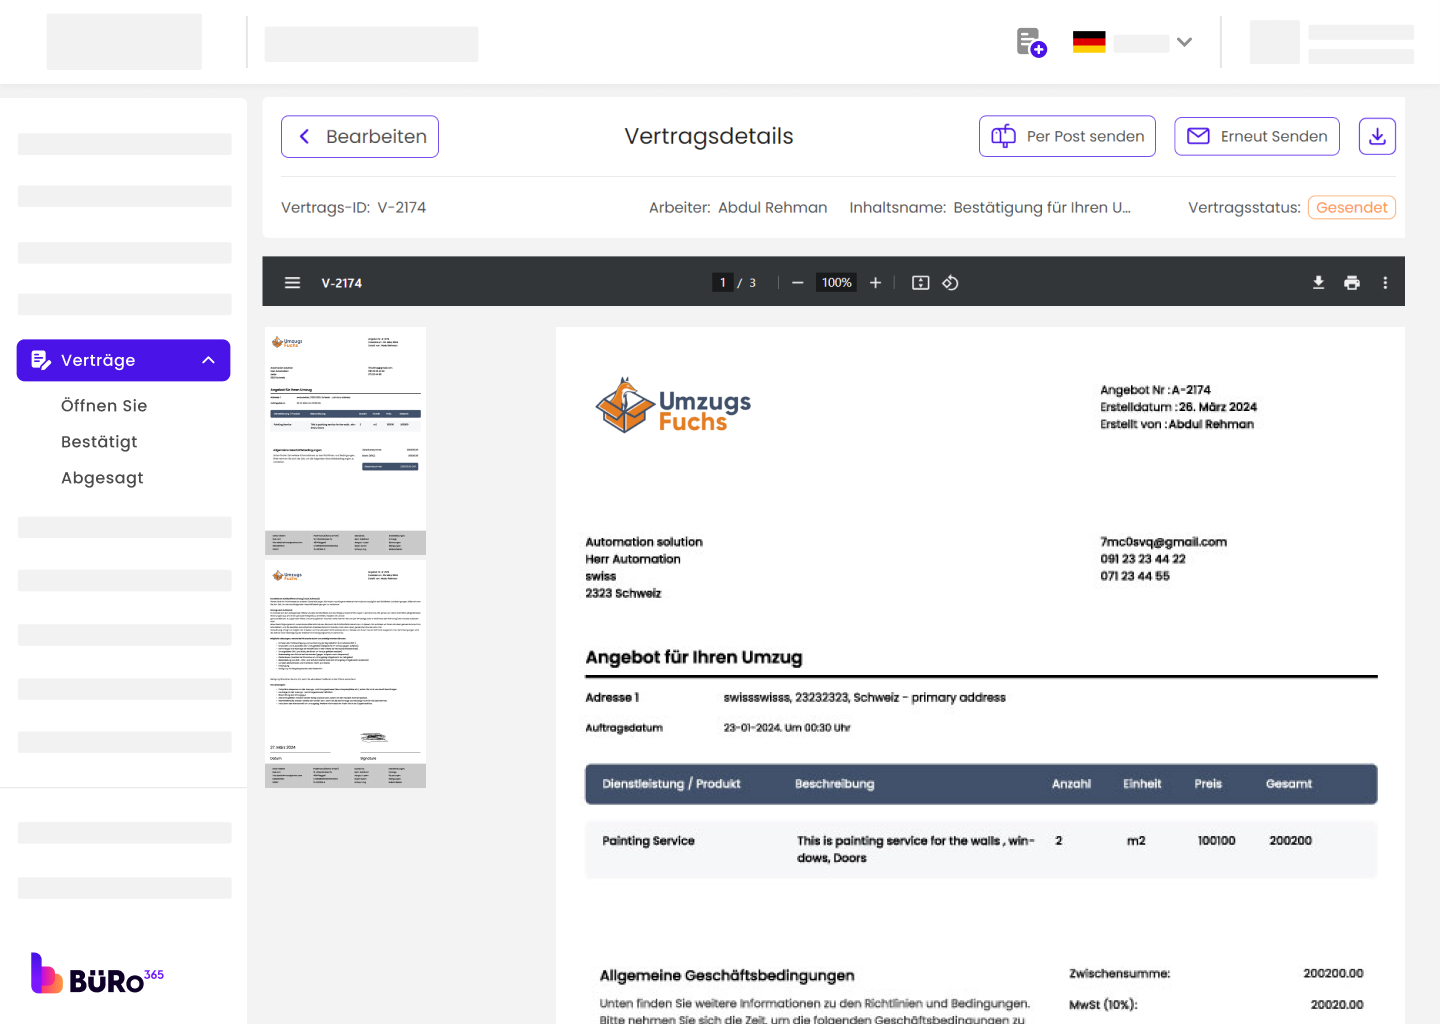
- Click on the contract to open its details.
- Review the contract information, ensuring all the details are correct.

- Use the provided options such as “Send via Email” to dispatch the contract to the customer. There is an additional option available to send via post if necessary.
- After sending the contract, the status should be updated to “Sent”, indicating that the customer has been notified.
Confirming the Contract:
- Once the customer receives the contract, the contract status should be updated to “Confirmed” in the system.
- If the status is not updated automatically, you need to manually confirm the contract after receiving acknowledgment from the customer.

Additional Functionalities:
- You can track email status with the “Mail Tracker” feature.
- Customers can view contract PDFs, images, and notes.
- You can edit contracts before confirming them.
Accessing Contract Details:
- Log into your Buro 365 account.
- Navigate to the ‘Contracts’ section on the sidebar.
- Here you’ll find a list of contracts. Click on the contract you want to edit. You will be directed to the ‘Contract Details’ page.
Additional Information:
If you need to add notes or images related to the contract, look for the ‘Notes’ or ‘Images’ sections where you can add additional information that may be relevant to the service execution.
Send Confirmation Email
- If you have made changes to the contract details, it is important to inform the customer of these changes. Then, you need to send the contract again by clicking on ‘Send via Post’.
- Before you send the email, review all the details. Make sure the email address provided is correct to ensure that your customer receives the notification.
- Once confirmed, click the button to send the confirmation email. This email will typically include the updated contract details, which allows the customer to review the changes.

Confirmation of Changes:
- Make sure the contract status shows the changes. It might show ‘Confirmed’ or ‘Sent’ next to the contract details.
- You can verify the email status which should now indicate that the email has been sent.
- Ensure that the system logs the date and time when the email was sent for record-keeping purposes.
