Home » Customer
Access Customer Module
- Access Customer Module
- Add New Customers:
- Edit Customer Information
- Adding Customer Details
- Access follow-up Module
Navigate customer module:
On the left-hand side, click on the ‘Customer’ tab in the navigation menu to open the Customer module.

By clicking on ‘Customers’, you will be directed to the customer module where you can see a list of all the customers. Which include details such as their ID, name, email, phone number, date, location, and account type (e.g. company or individual).


To edit a customer’s information, click on the edit icon (pencil symbol) next to the customer you want to update. Make the necessary changes in the pop-up form and save your changes.

Searching and Filtering Customers:
You can use the search bar to find customers by name, ID, or email. Additionally, you can sort the customer list by clicking on the ‘Sort By’ dropdown menu.

1. Date:
- When you click on “Date,” from the drop-down the list of customers will be sorted based on the date they were added to the system or the date of their last update.
- Click on the drop-down to change the order from ascending to descending.
2. Latest:
- Selecting “Latest” from the drop-down will arrange the customers so that the most recently added or updated customer profiles are at the top of the list.
- This is useful for quickly accessing the newest entries without scrolling through the entire list.
3. Oldest:
- Clicking on “Oldest” from the drop-down to show the oldest entries first, the opposite of “Latest”.
- This can be helpful when you need to review or follow up on long-standing customers.
4. A-Z:
- Choosing “A-Z” from the drop-down it will sort the customer list alphabetically by name, starting with the letter A and ending with Z.
- It’s likely that clicking this option again will reverse the order to “Z-A”, sorting the list starting with the letter Z and ending with A.
Users can then scroll through the list to find the customers in the order that they chose. These sorting functions are designed to help users manage and navigate large numbers of customer profiles more efficiently.
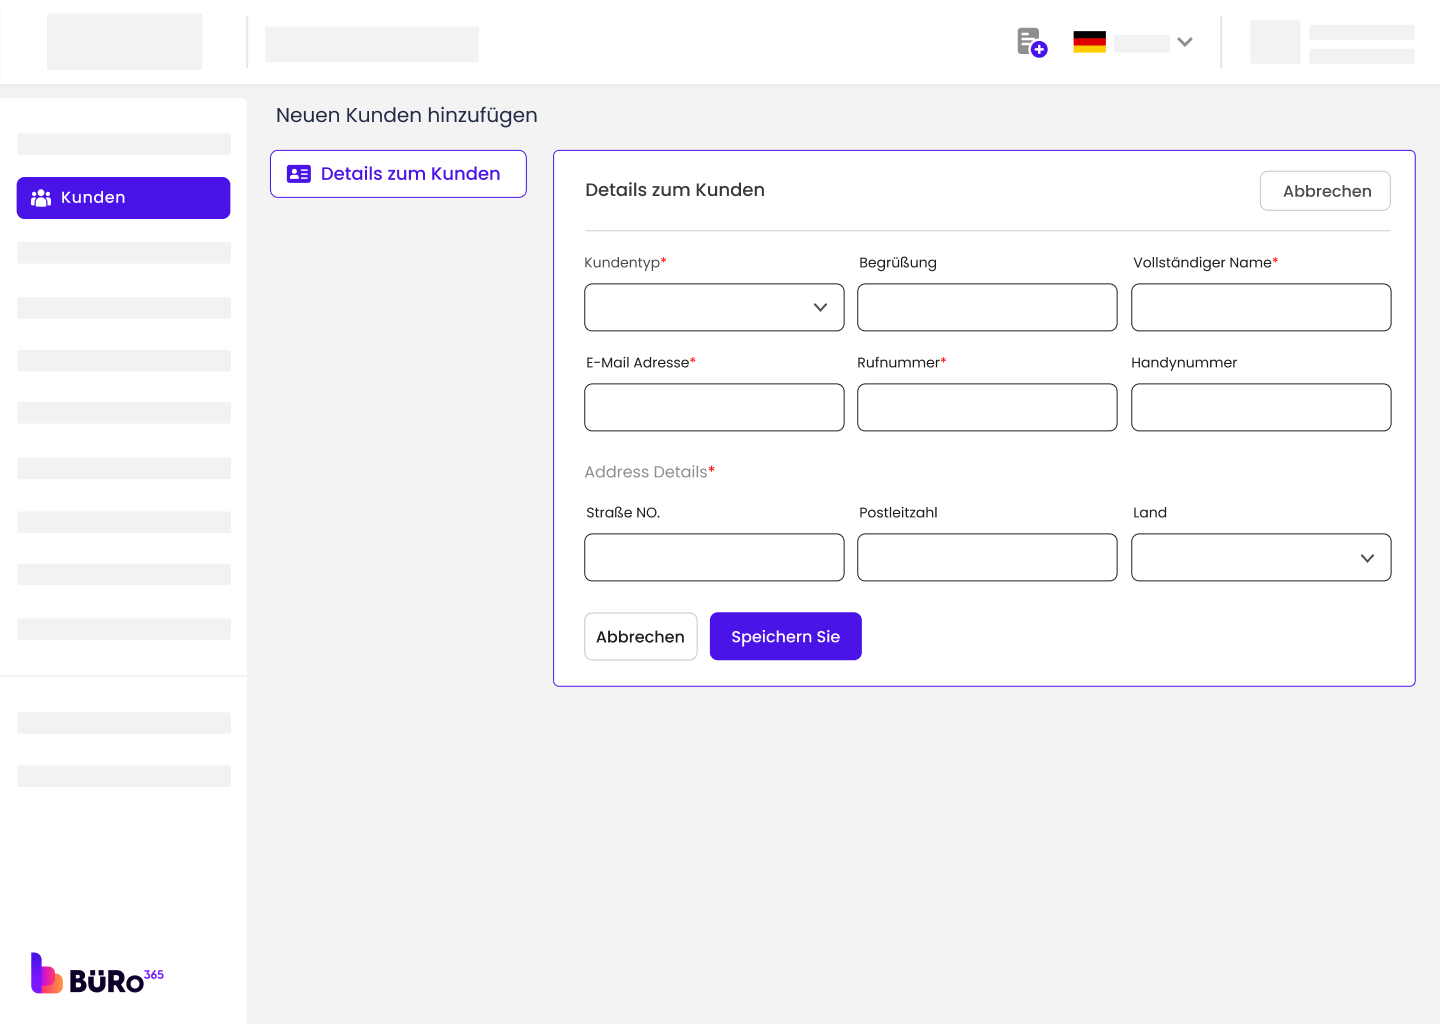
Click on ‘Customer’ to add customer details. Enter information such as customer type, gender, full name, email address, phone number, mobile number, street number, postal code, city, and country. Finally, click on ‘Save Changes’ to save the customer details. By following these steps, you can add new customers.

Access the “Follow Up” module:
Locate the Follow-Up section:
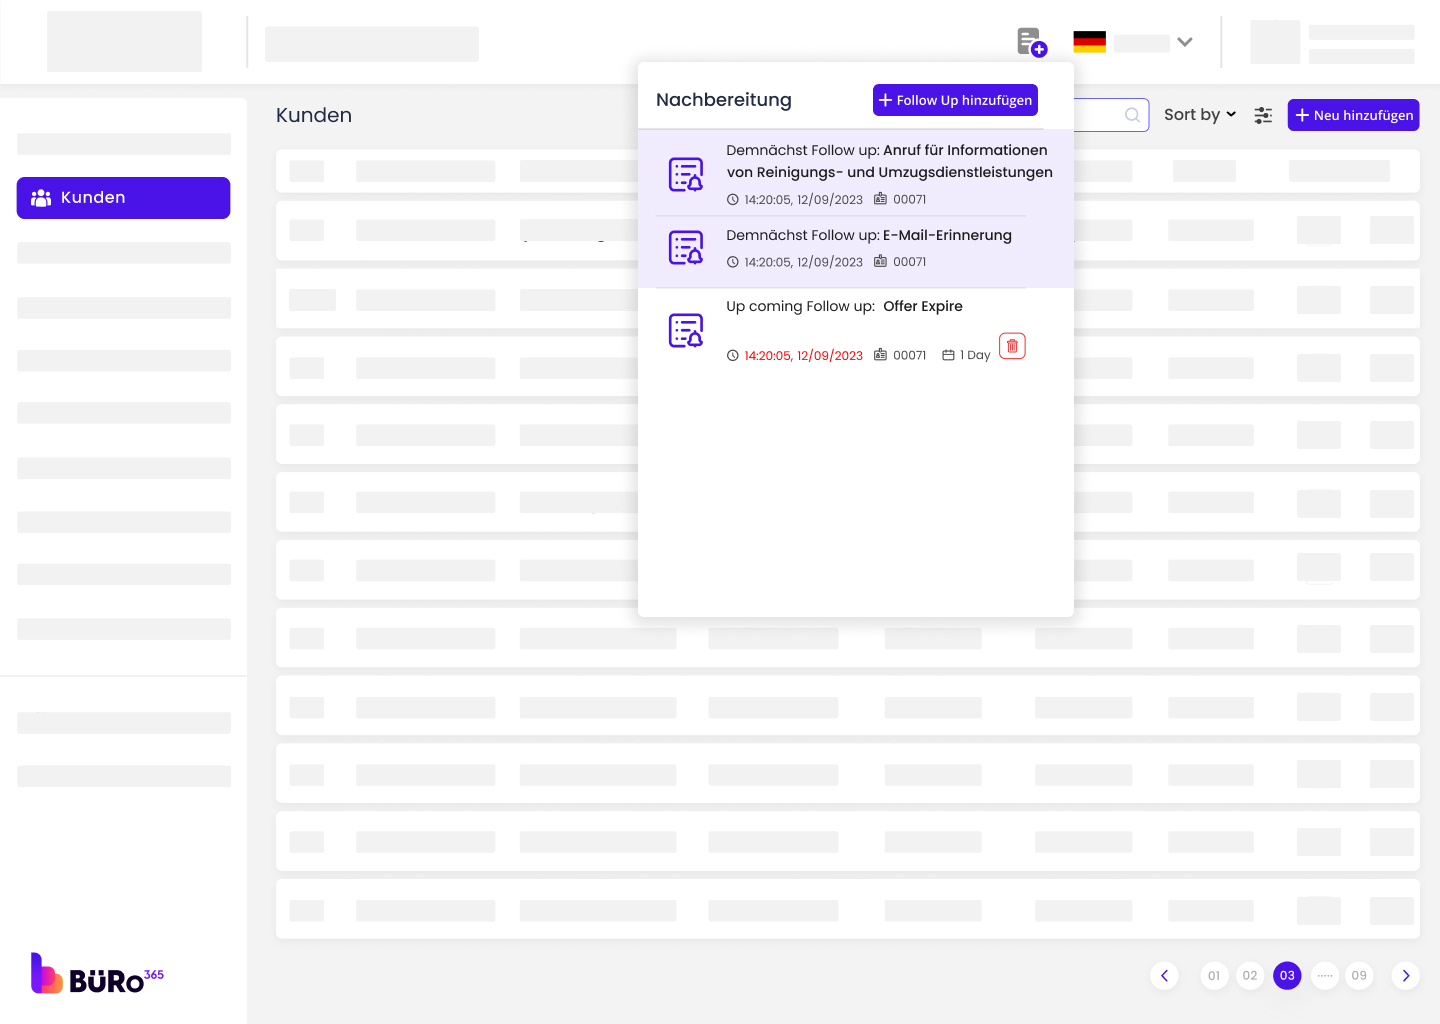
On the right side of the screen, there is a column titled ‘Follow Up’ with icons of the “+” sign. This is likely where the follow-up actions or reminders for each customer are managed.
To access the follow-up details or to set up a new follow-up, you would click on the “+” sign icon corresponding to the customer you are interested in. This action usually opens a new dialog or takes you to a new screen where you can view past follow-ups, schedule new ones, or edit existing reminders.

Use the Follow-Up Module
Step 1: Open the Add Follow-Up Form:
Navigate to the section of the site where follow-ups are managed and click on the option to add a follow-up. This will open up a form exactly like the one shown in the screenshot.
Step 2: Select Customer:
Click on the “Select Customer” dropdown menu to display a list of your existing customers. Scroll through the list or start typing a customer’s name to search for it, then select the customer you need to follow up with.
Step 3: Select Lead:
If the follow-up is about a lead, not a customer, click “Select Lead” and pick the right one from the list.
Step 4: Enter Title:
Click on the “Enter Title” field and type a descriptive title for your follow-up. This could be a summary of the follow-up’s purpose, such as “Quarterly Check-In” or “Post-Purchase Feedback”.
Step 5: Set Follow-Up Date and Time:
Click on the calendar icon in the “Follow-Up Date and Time” field to select a date and time for the follow-up. You can manually enter the date in the mm/dd/yyyy format and the time if you prefer.
Step 6: Choose Follow-Up Type:
Click on the “Follow-up type” dropdown to choose the type of follow-up you are scheduling. Options include a phone call, email, meeting, etc. Select the one that applies to your follow-up.
Step 7: Additional Details:
In the “Additional Details” field, enter any relevant information or notes that you need to remember for the follow-up. This could include the topics to be discussed, questions to ask, or previous interactions to reference.
Step 8: Save the Follow-Up:
Review all the information you have entered to make sure it is accurate. Once you are ready, click the “Save” button to schedule the follow-up. It will now be added to your follow-up list, and you will be reminded as the date approaches.
Step 9: Managing Follow-Up Actions:
To manage follow-ups, use the buttons located at the top right of the page.
⦁ Postponed
If you need to reschedule the follow-up, click this button. It will move the follow-up to a postponed status, allowing you to reschedule it later. You can select a date and add a description for rescheduling.


⦁ Mark as Complete
Once you have followed up and taken the necessary action, click this button to mark the follow-up as completed. You can add remarks when you mark a follow-up as complete.

Note: Go to the settings module and add a reason why you are adding a follow-up.

