Begin your business journey with Buro:
Büro 365 lets you quickly register your business and efficiently manage your online operations. Our seamless setup and dedicated support makes creating and managing your business account easy. To create a business account on Büro 365, simply go to this link and follow these instructions:
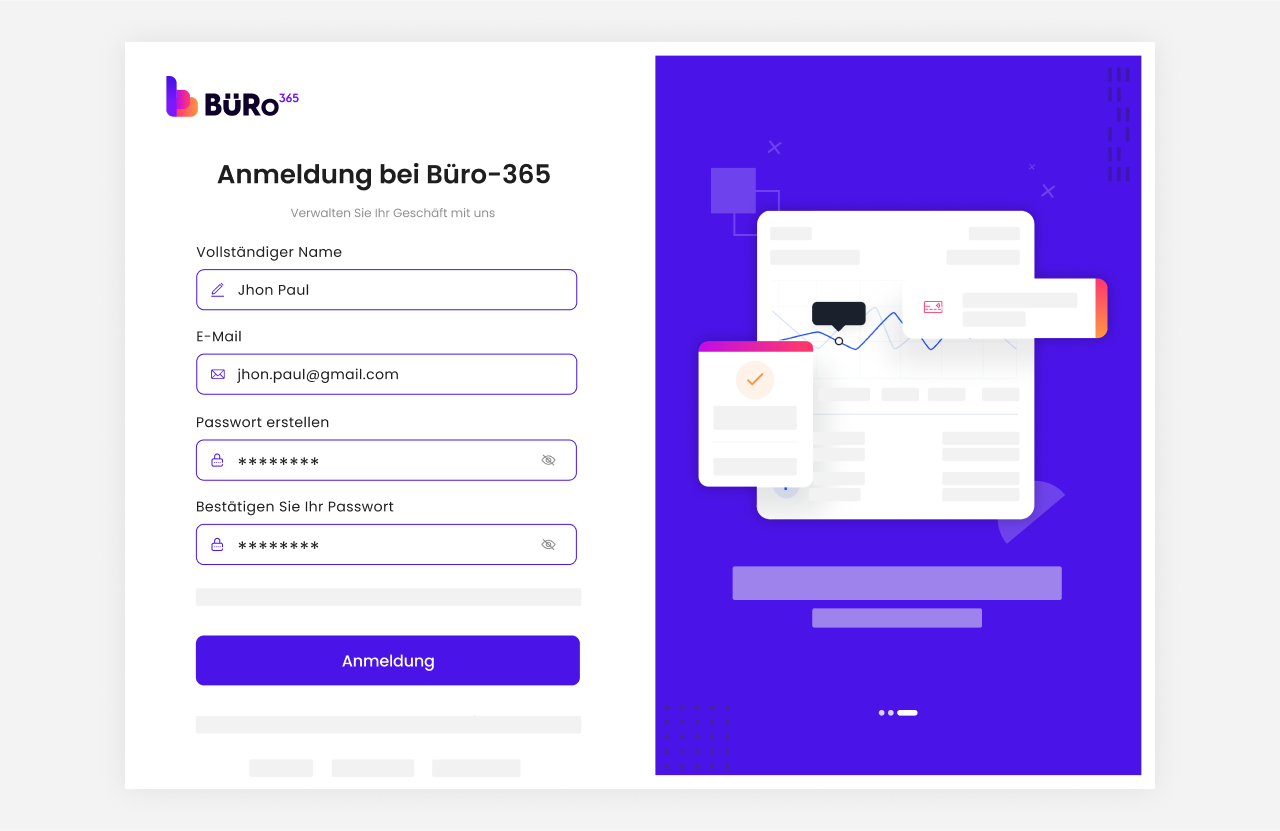
Steps for creating an account:
Initially, you’re prompted to provide personal details starting with your full name. In the next step, you enter your email address, after which you are required to set a secure password. Finally, clicking on the ‘Sign Up’ button takes you closer to activating your account.
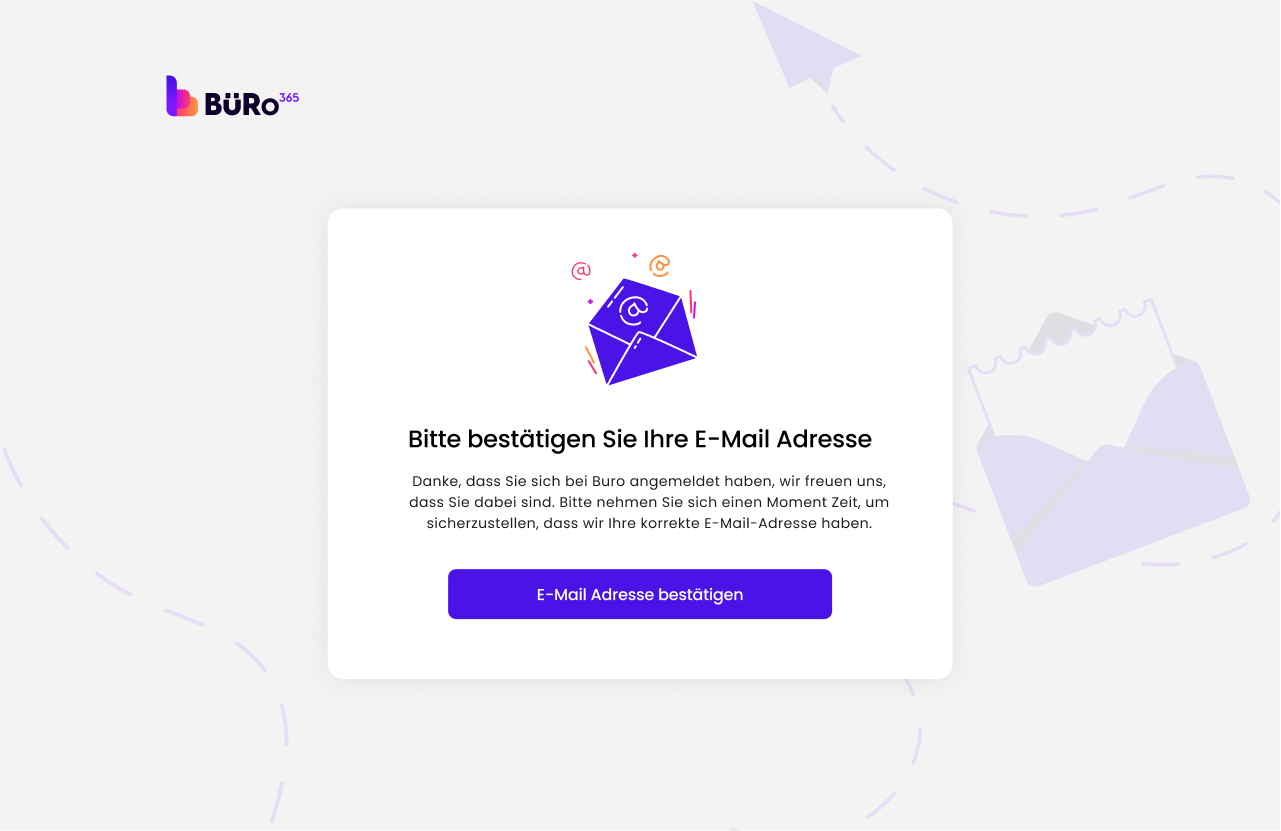
Account Verification:
After signing up, Büro 365 requires email verification to ensure the security of your account. You’ll receive a verification link in your inbox clicking this link confirms your email address and finalizes the registration process.
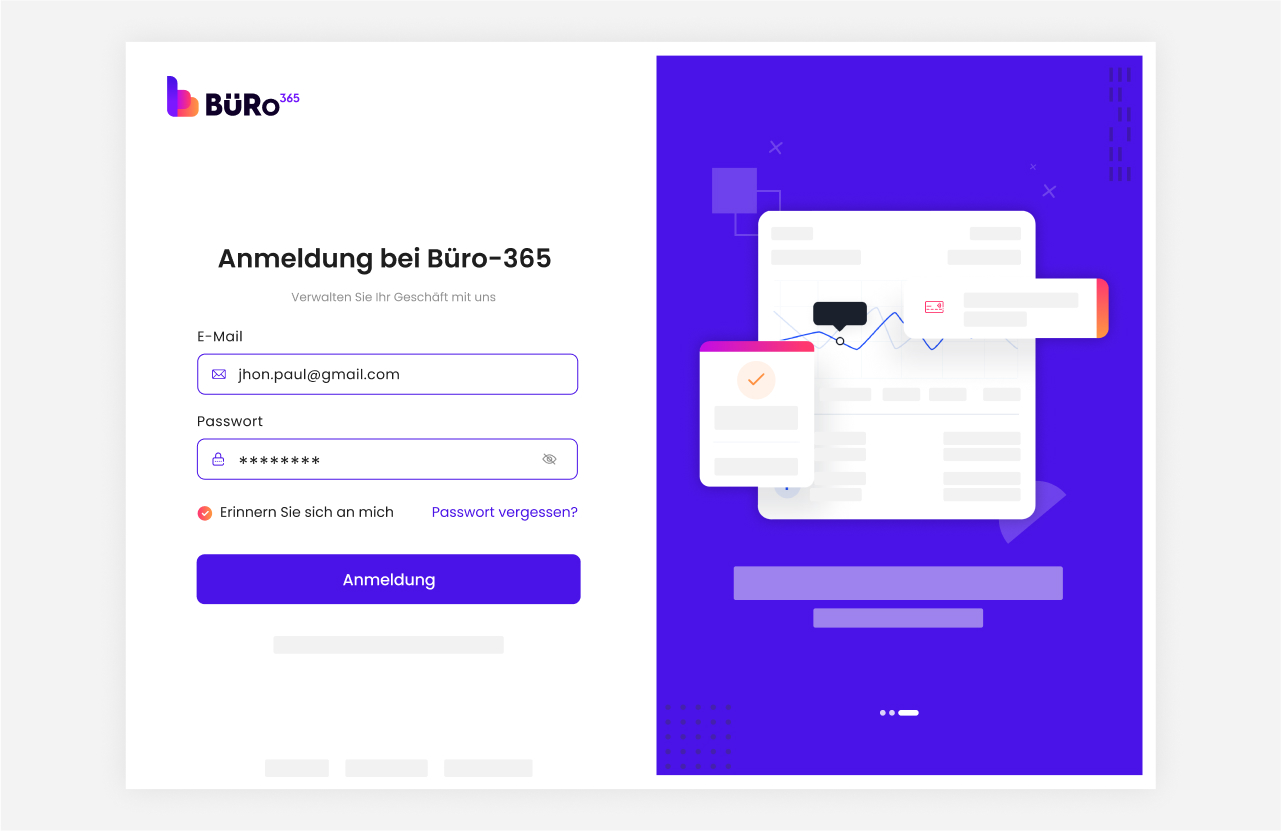
Post-verification:
After confirming your account, you’ll need to log in again. Then, you’ll add important details about your business. This step helps personalize your profile, making sure Büro 365 suits your specific needs.
Profile Completion: Enter Business-Specific Information:
After verifying your account, log in to your account and then add your business information. Enter your company name, phone number, mobile number, website, and MwST[ https://www.ch.ch/de/steuern-und-finanzen/steuerarten/mehrwertsteuer], and upload your company logo. Then, click ‘Next’.
MwSt-Number (optional):
In the context of this form, it’s an optional field, meaning you do not have to provide your company’s VAT ID if you don’t want to or if it’s not applicable. The VAT ID is important for intra-community trade within the EU and businesses that charge or reclaim VAT.
Website (optional):
This field is for entering the URL of your company’s website. It’s marked as optional, so it’s up to you to decide whether to provide this information. Including your website can be beneficial for support.

Enter Business Location Details and Proceed:
Enter your business location details, street number, house number, postal code, city, and then click on the ‘Next button’.

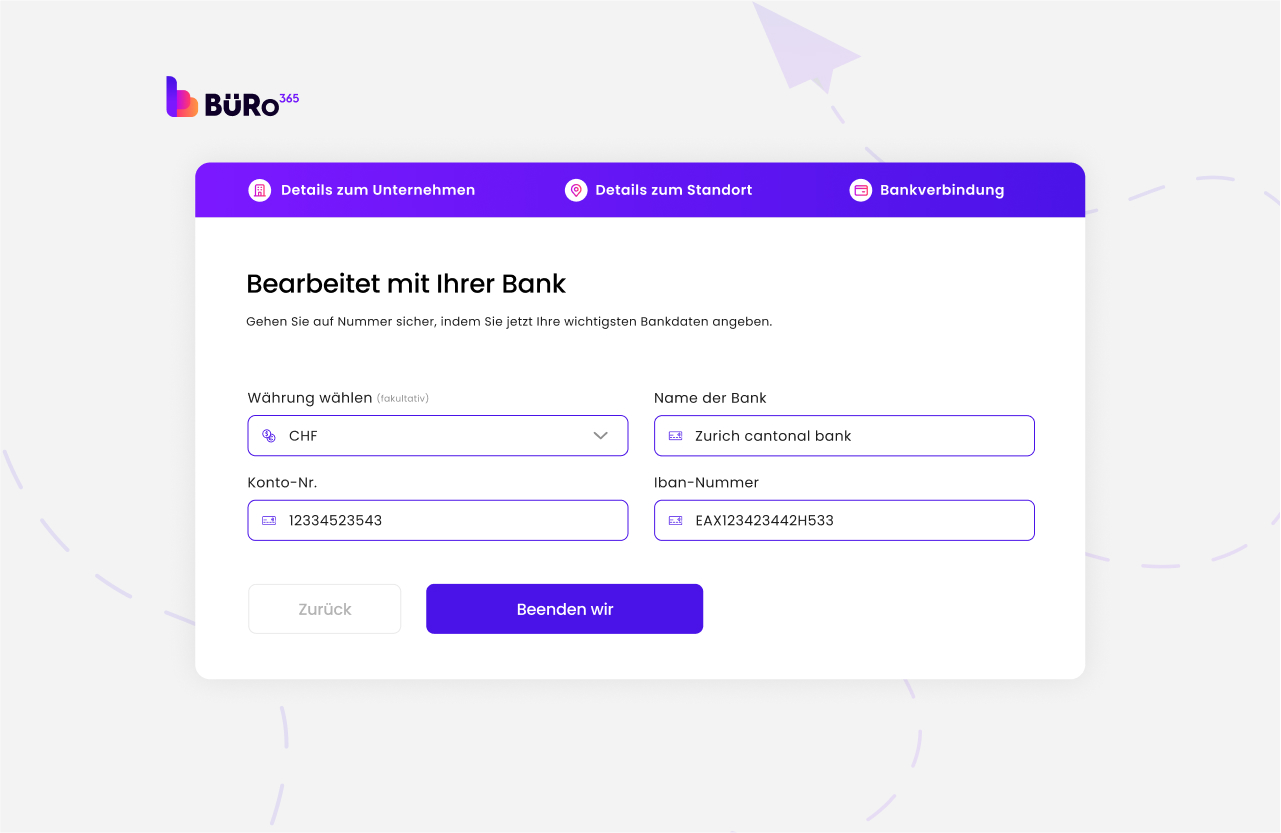
Provide Bank Details for Efficient Payments:
Now, enter bank details and choose your currency preference, bank name, account number, and IBAN, and then click on Let’s finish. These details are important for processing payments efficiently. Once you have entered all the required information, click the ‘Let’s finish’ button to complete the process.
Your Plan Package:
Go to the login page, enter your email and password, then click on the login button. After logging in, you will see the available price plans. You can then select and choose your plan according to your business needs.
Select Right Plan for Your Business Growth:
Selecting the right plan for your business growth is essential for optimizing resources and achieving your goals efficiently. Whether you are a startup aiming for scalability or an established enterprise seeking customized solutions, choose the right plan by focusing on factors like features, pricing, scalability, and your business needs. Here is the description of our three price plans including Silver, Gold, and Diamond:
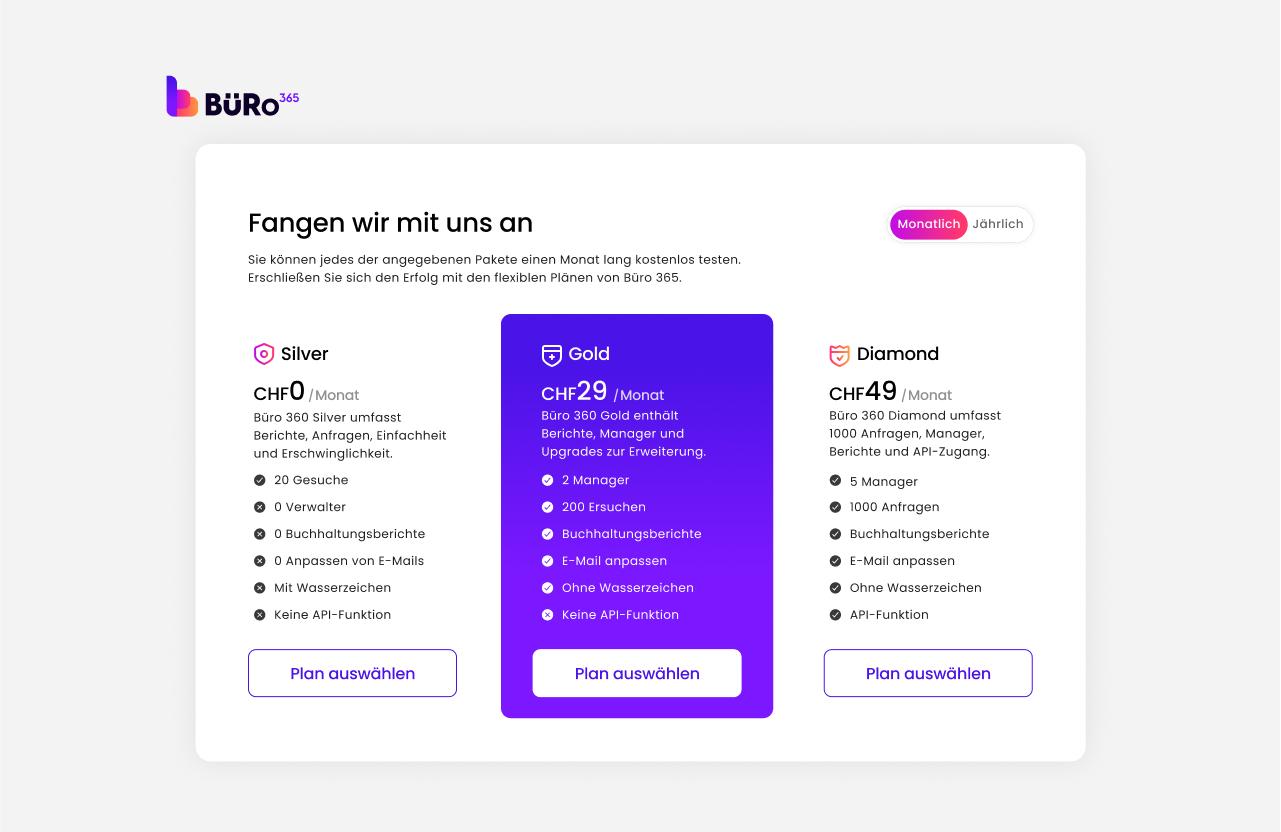
1. Silver Plan
The cost of the silver plan is CHF 0 per month. This plan offers basic access to the platform and is ideal for individuals or small teams beginning to explore the services.
Features:
2. Gold Plan
The cost of the gold plan is CHF 29 per month. This plan is suitable for growing businesses that need more from the service for small to medium teams requiring regular access.
Features:
3. Diamond Plan
The cost of the gold plan is CHF 49 per month. Diamond is the most comprehensive package, designed for large teams or enterprises, and offers extensive features and the highest number of queries.
Features:
Change Default Language
1. Login: Sign in to your Büro 365 account with your credentials.
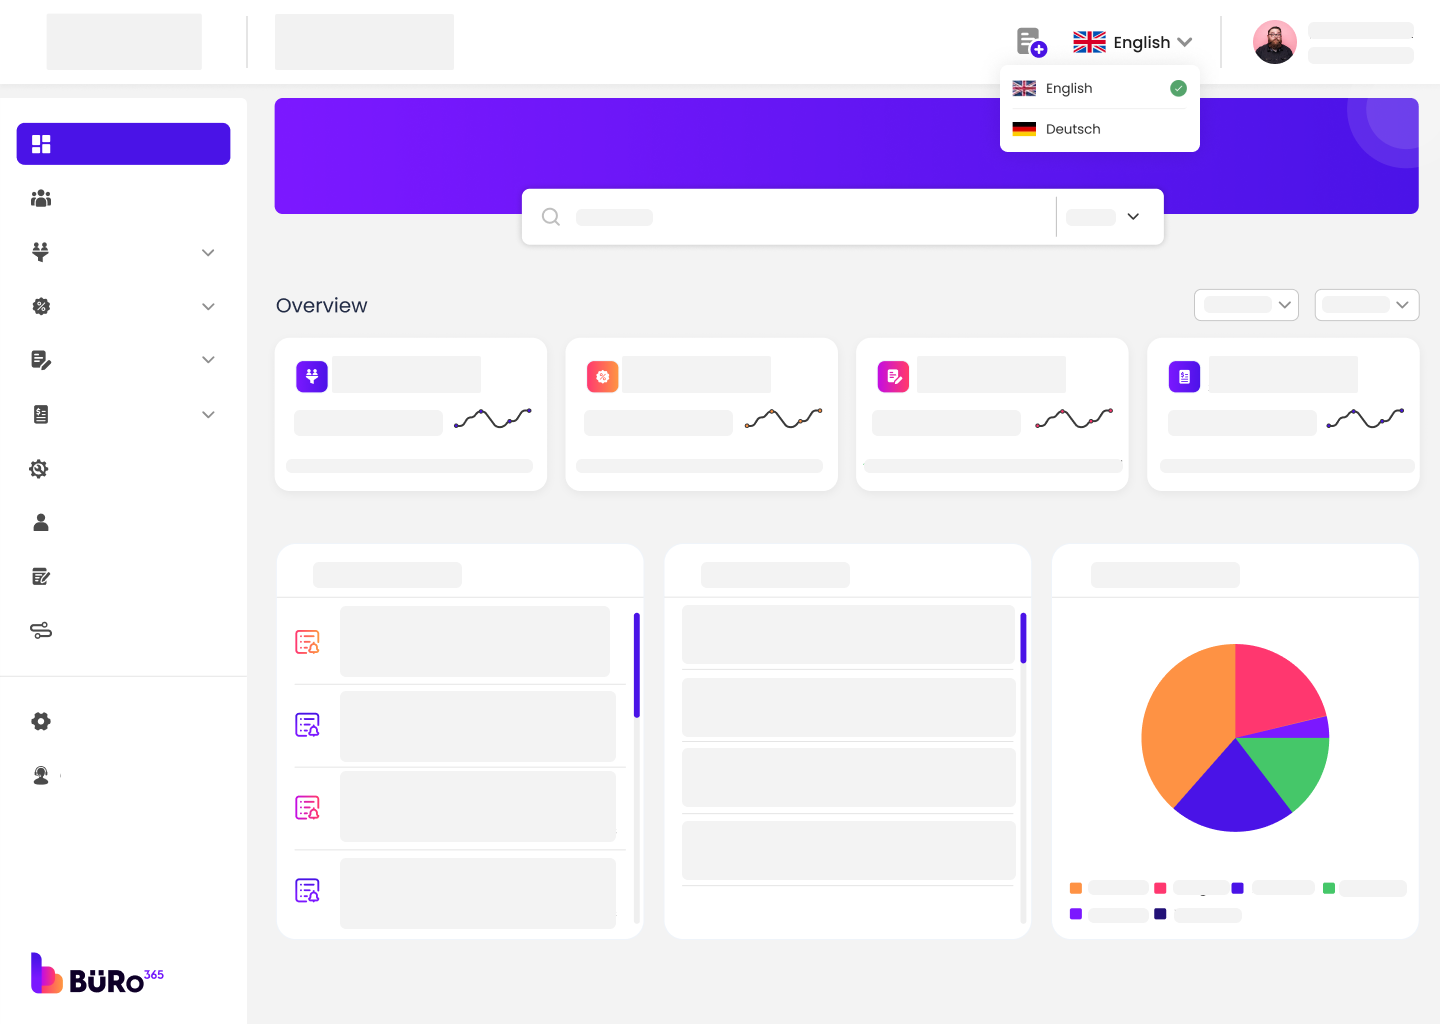
1. Select Language: Click on the language dropdown menu. It’s located in the top right corner next to the login information. You should see a list of languages, with “Deutsch” (German) at the top, since it is the default language.
2. Change Language: Select your preferred language from the dropdown menu to change it from the default German to your choice.
3. Navigate the Platform: Once the language is changed, all menu items, options, and customer support details will appear in the selected language. You can now navigate through the various sections such as ‘Leads’, ‘Offers’, ‘Contracts’, ‘Invoice’ etc., in the language you understand better.